
How to dehydrate plums and make delicious snacks
Plums are one of those fruits that have a natural sweetness and juiciness that makes them perfect for snacking or adding to dishes. They are one of those rustic fruits most of us can recall their grandmothers using loads of. But as much as we may love them, sometimes we end up with more plums than we can handle—especially when they’re in season. That’s where dehydrating plums comes in! It’s a fantastic way to preserve their flavor and texture, so you can enjoy them long after their fresh season has passed. Whether you’ve got a garden full of plums or just a few extra ones from the grocery store, how to dehydrate plums is one of those skills we can all benefit from to enjoy yearlong deliciousness.
Dehydrating fruits is nothing new, and it’s an easy process that helps extend the life of fresh produce without needing fancy preservatives. But when it comes to plums, the task can seem a little tricky if you’ don’t want to end up with prune plums.
Can you dehydrate fresh plums?
Yes, absolutely! You can dry plums and enjoy them year round, which is an excellent way to enjoy those summer flavours for a long time. If this is your first time drying fresh fruit, fear not, I’ll walk you through it. So let’s grab whichever varieties of plums you have and get started with our how to dehydrate plums tutorial.
What is the best way to preserve plums?
If you’ve ever had a plum go mushy or overripe before you could enjoy it, you’re probably looking for a way to store them for later. Dehydrating is one of the healthiest and most efficient preservation methods. It locks in all the nutrients and flavor of fresh plums while removing the water content, which means you can store them for months or even longer. But knowing how to dehydrate plums at home properly is key to making sure you get the best results.
How to make dried plums at home?
To get started, you’ll need a few basic tools. Don’t worry, most of these are easy to find!
Fresh plums. If you have a plum tree or know someone who does, ideal! I get mine from the organic food market.
Food dehydrator or oven. A dehydrator works wonders, but an oven can do the job just as well if that’s what you have on hand.
Sharp Knife. You’ll need this to remove the pits and create thin plum slices.
Lemon Juice (optional). To prevent the plums from browning, a quick dip in a lemon juice solution can work wonders.
How to Dehydrate Plums Using a Food Dehydrator
Let’s talk about the step-by-step process for how to dehydrate plums in your food dehydrator.
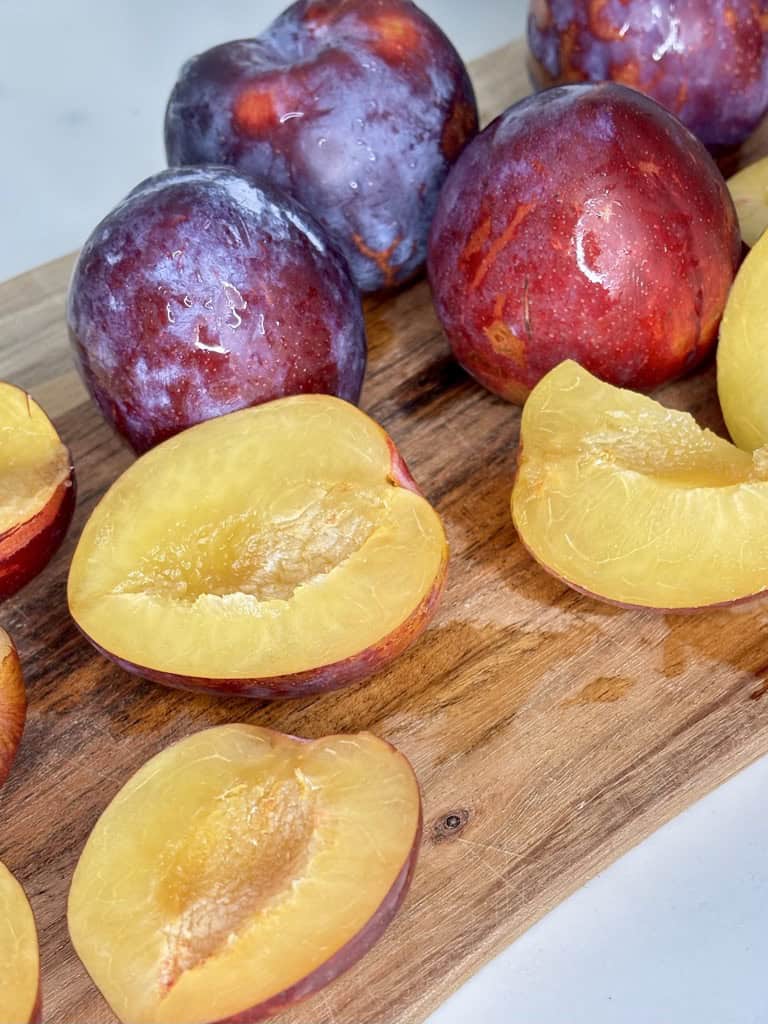
Wash Plums. Start by giving your plums a good rinse to remove any dirt or residue.
Slice and Pit. Instead of leaving your plums whole, cut them in half and carefully remove the pit. Slice each half into thin slices of no more than 1/4 inch (5mm). You can leave the skin on, we want to preserve all the vitamins and nutrients.
Lemon bath (optional step to prevent browning). If you want to keep your plums looking fresh and vibrant, dip them in some ice water with lemon juice for a few seconds.
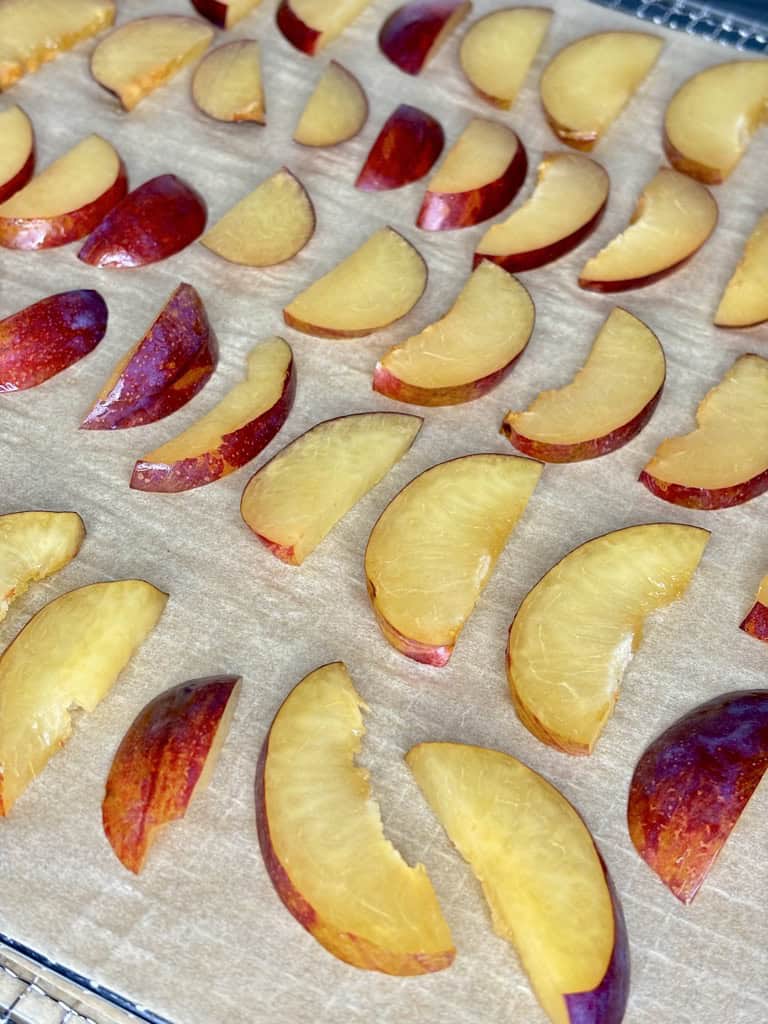
Arrange on Dehydrator Trays. Place your plum slices in a single layer on the dehydrator trays. Make sure there’s a little space between each piece for proper air circulation.
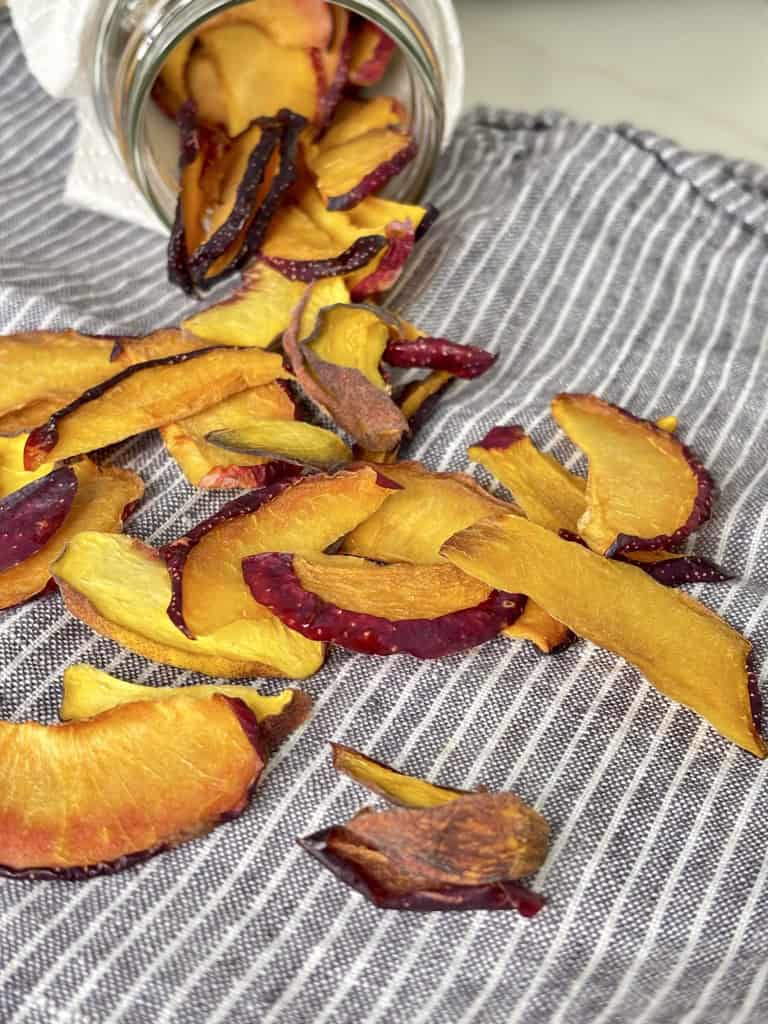
Set the Dehydrator. Set your dehydrator to 130°F (55°C) and let it run for about 12 to 24 hours. Check the plums periodically for the right texture. When done, the plums should make the same sounds as dry pasta when hitting a hard surface.
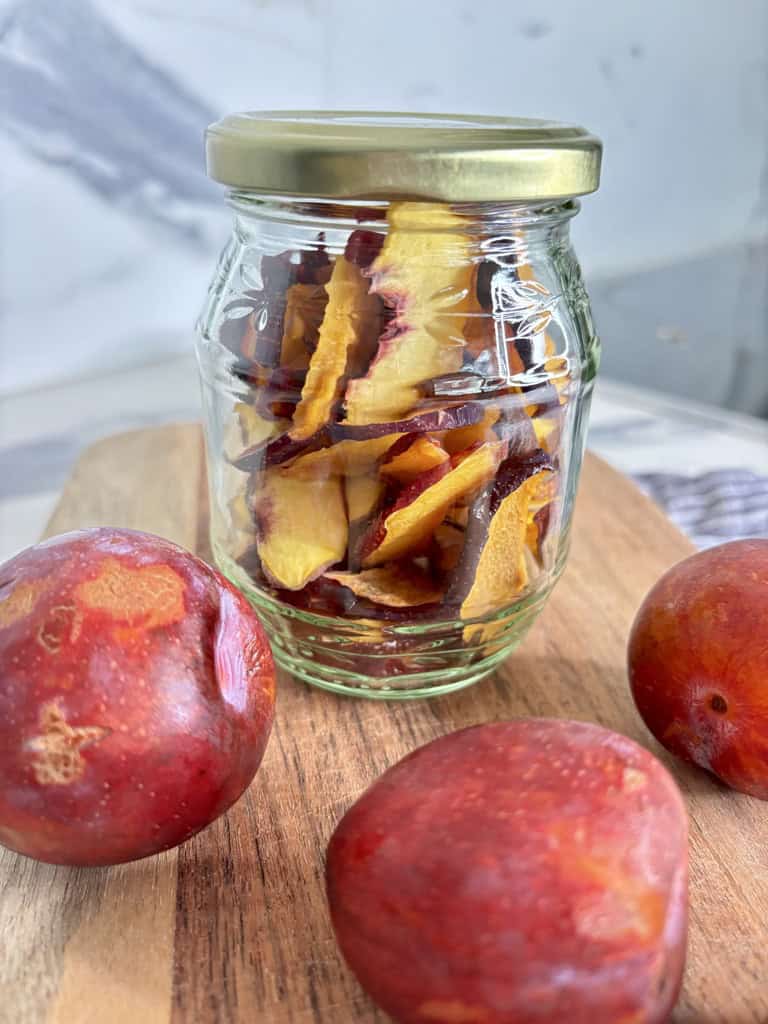
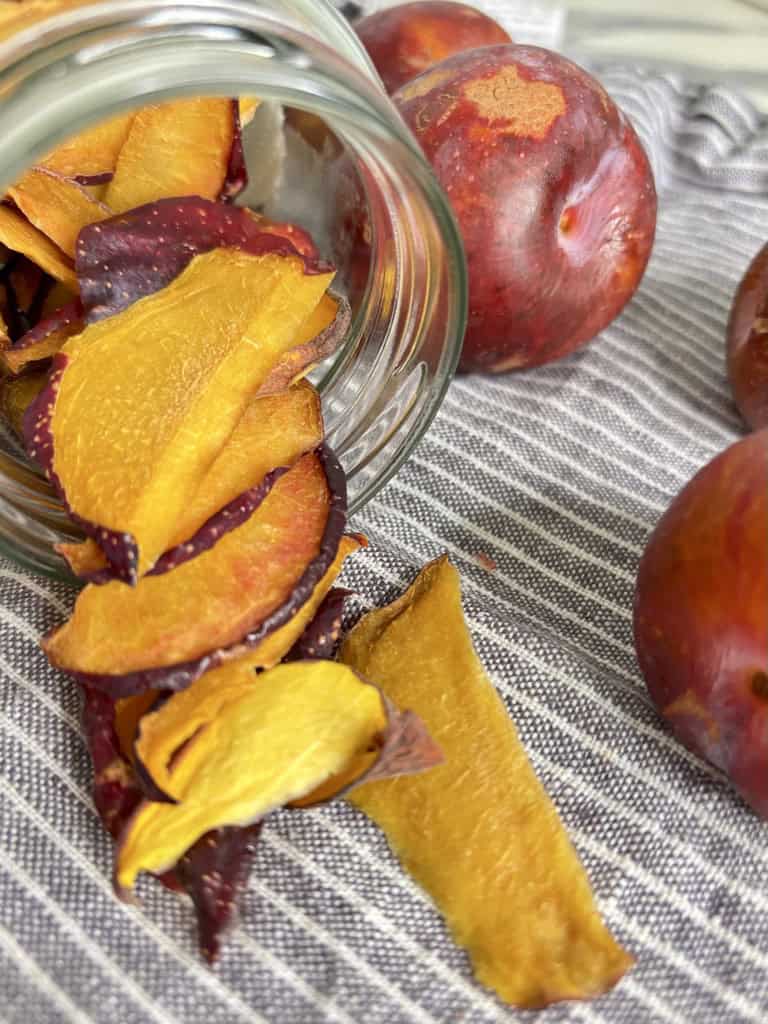
Cool and Store. Once your plums are dehydrated, let them cool to room temperature before storing them in an airtight container or glass jar in a dark place.
How to Dehydrate Plums in the Oven
If you don’t have a dehydrator, you can still achieve similar results in your oven! Here’s how to dehydrate plums using your oven:
Preheat Your Oven. Set your oven temperature to 130°F (55°C).
Wash Plums. Start by giving your plums a good rinse to remove any dirt or residue.
Slice and Pit. Instead of leaving your plums whole, cut them in half and carefully remove the pit. Slice each half into thin slices of no more than 1/4 inch (5mm). You can leave the skin on, we want to preserve all the vitamins and nutrients.
Lemon bath (optional step to prevent browning). If you want to keep your plums looking fresh and vibrant, dip them in some ice water with lemon juice for a few seconds.
Place on a Baking Sheet. Line a baking sheet with parchment paper and arrange your plum slices.
Bake Low and Slow. Place the baking sheet in the oven and leave the oven door slightly ajar to allow moisture to escape. Bake for 6-12 hours, checking on them every couple of hours. Rotate the trays if needed.
Test if done. Oven drying feels a little different from dehydrator drying. The plums should feel soft but not sticky when fully dehydrated.
Cool and Store. Once your plums are dried out, let them cool before transferring them to glass containers.
Tips and Tricks for Dehydrating Plums
Don’t Overcrowd. When laying your plums on the dehydrator trays or baking sheet, don’t overcrowd them. Proper air circulation is key to even drying.
Pre-treatment. If you don’t want your plums to turn brown, make sure to soak them in lemon water before dehydrating. While this step isn’t essential and you might not even notice the slightly darker colour, it’s also a step that won’t harm taking.
Check Frequently. Every dehydrator or oven is different, so be sure to check your plums regularly to ensure they don’t get too dry or burn.

What Can Dried Plums Be Used For?
Once you’ve learned how to dehydrate plums, you’ll have endless possibilities to enjoy them! Here are a few ideas for using your home-dried plums:
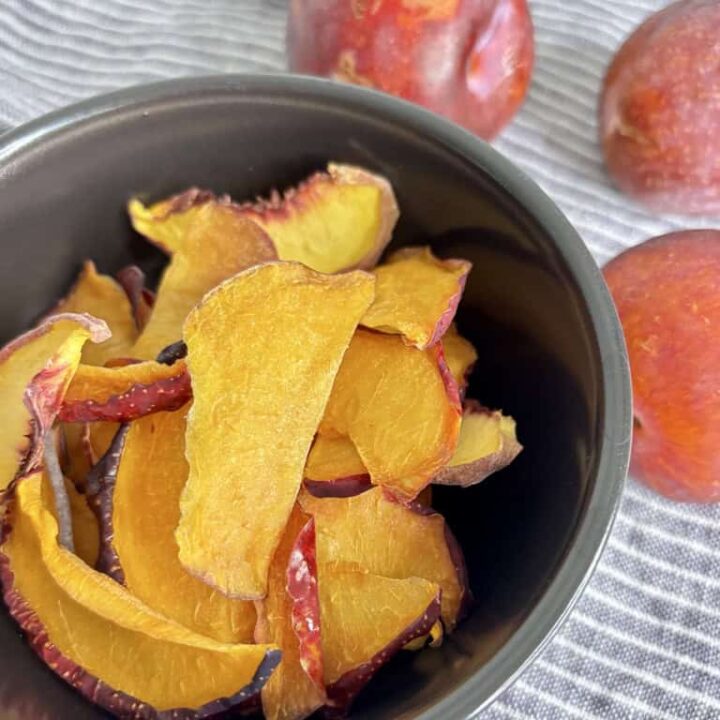
Snack – Dried plums make for a healthy, natural snack and a great way to enjoy a healthy snack on the go.
Smoothies – Rehydrate them in a little cold water and add to your favorite smoothie as a natural sweetener. Also works great when using plum powder.
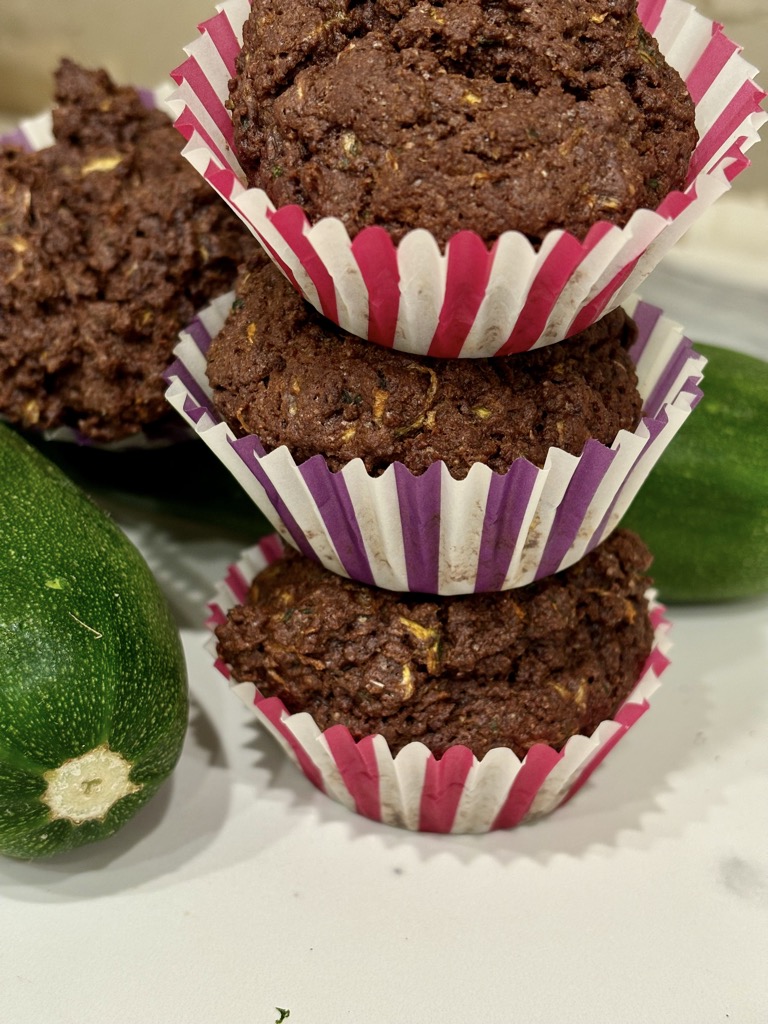
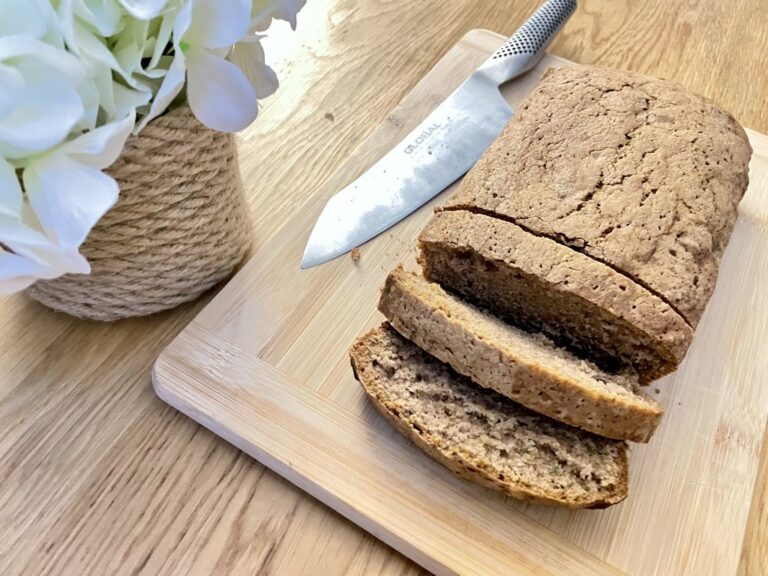
Baking – Chop your dried plums into smaller pieces and toss them into muffin or bread batters for extra flavor.
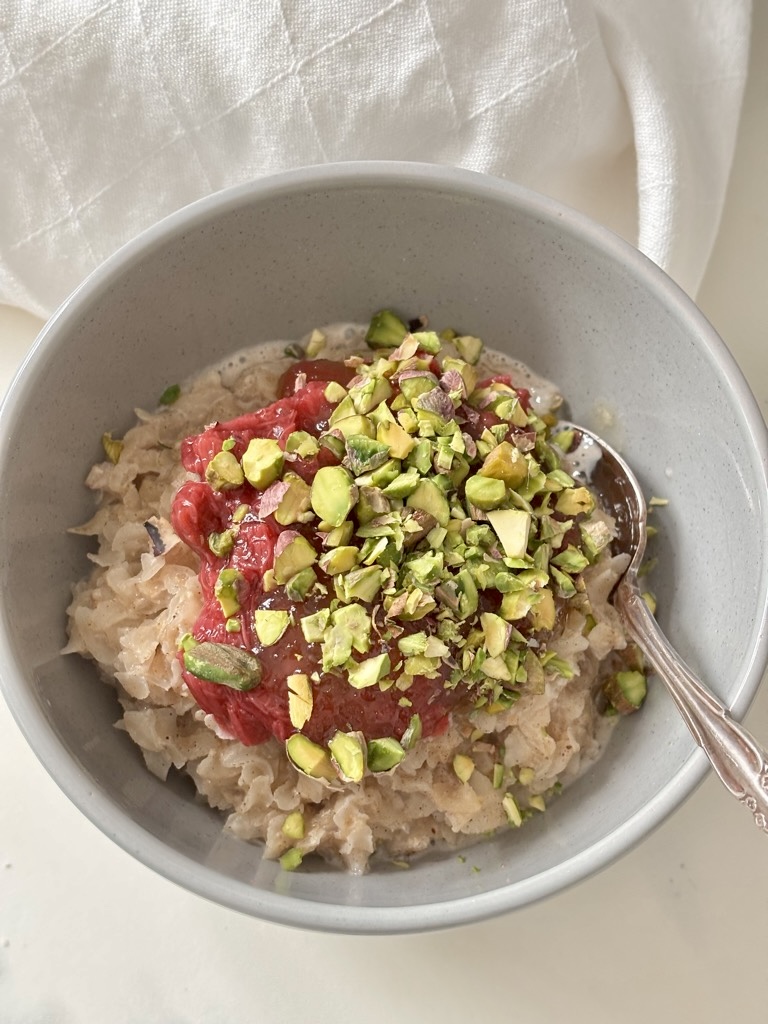
Sprinkle over Oatmeal or Cereal – Add dried plums to your morning granola or sprinkle over yogurt for added sweetness. If you don’t like the crunchy texture, going your plums into powder and sprinkle it over your breakfast instead.

What to Avoid When Dehydrating Plums
Don’t Skip the Pit Removal. Always make sure you remove the pit from each plum before dehydrating. It’s not only a hassle to eat around, but it could affect the drying process.
Don’t Rush the Drying Process. Whether you’re using a dehydrator or an oven, dehydration takes time. Don’t try to speed it up by increasing the heat—this could result in uneven drying or even burnt plums. For best nutritional value and health benefits, stick with the lowest setting or increase only slightly from there.
By following these simple steps on how to dehydrate plums, you’ll be able to create delicious dried fruit that lasts for months. Whether you use them for snacking like we do, or as a healthy addition to recipes, dehydrated plums are a game changer for anyone who wants to make the most of seasonal fruits. So next time you have a surplus of plums, skip the food waste—dehydrate them following my easy steps.
How to Dehydrate Plums
A simple, delicious way to preserve summer.
Ingredients
- 1 kg Plums
- 2 Tbsp Lemon Juice (optional)
Instructions
- Wash Plums. Start by giving your plums a good rinse to remove any dirt or residue.
- Slice and Pit. Instead of leaving your plums whole, cut them in half and carefully remove the pit. Slice each half into thin slices of no more than 1/4 inch (5mm). You can leave the skin on, we want to preserve all the vitamins and nutrients.
- Lemon bath (optional step to prevent browning). If you want to keep your plums looking fresh and vibrant, dip them in some ice water with lemon juice for a few seconds.
- Arrange on Dehydrator Trays. Place your plum slices in a single layer on the dehydrator trays. Make sure there’s a little space between each piece for proper air circulation.
- Set the Dehydrator. Set your dehydrator to 130°F (55°C) and let it run for about 12 to 24 hours. Check the plums periodically for the right texture. When done, the plums should make the same sounds as dry pasta when hitting a hard surface.
- Cool and Store. Once your plums are dehydrated, let them cool to room temperature before storing them in an airtight container or glass jar in a dark place.
Notes
- Don’t Overcrowd. When laying your plums on the dehydrator trays or baking sheet, don’t overcrowd them. Proper air circulation is key to even drying.
- Pre-treatment. If you don’t want your plums to turn brown, make sure to soak them in lemon water before dehydrating. While this step isn't essential and you might not even notice the slightly darker colour, it's also a step that won't harm taking.
- Check Frequently. Every dehydrator or oven is different, so be sure to check your plums regularly to ensure they don’t get too dry or burn.
I love the idea of dehydrating plums. You made it sound so easy, I will try to dehydrate them next time I have some. This was very helpful, thank you!