Easy pom pom crafts for adults and kids
During the last school holidays, I started to look for easy pom pom crafts for adults and kids. Pom-poms somehow managed to dominate our craft supplies. Even though I have tried so hard to incorporate them in activities, they somehow are the bits that never ever get used up. In an effort to reduce the amount of colourful little fluff balls, I made a conscious effort to incorporate them into any activity I could think of. It even got to the point of me sewing pom-poms all over my daughter’s sling when she broke her collarbone. But despite my best efforts, the craft drawer was still full of them. It was time to come up with some easy pom pom crafts for adults and kids that would use them all.

Arts and crafts are such wonderful ways to bring the whole family together, don’t you think? I love to spend quality time with my husband and my children and found our arts and crafts are such an easy way for us to bond. Wherever possible, I try to incorporate seasonal supplies from outdoors into our craft sessions. While I was sitting in my living room, contemplating the options at hand the sun started shining onto a bunch of flowers that sat on the table. Flowers, I thought. Many, many flowers. Made from many, many pom-poms.
Pom pom flowers
An idea formed in my head. My kids have this obsession with collecting sticks. In winter, we often take baskets out for a walk and collect small sticks to use as kindling for the fire. It’s such an easy way to get the kids outdoors. Why not build on that, I thought.
So off we went. We got the family together, put on our shoes, grabbed a basket and went outside. The girls knew their mission, it wasn’t their first stick hunt after all. We took a stroll toward the playground where there are lots of trees on the way. The girls started to run up and down the hills, past the bushes and straight to their favourite stick collection spots. The sun shining onto their little heads, leaves started to tangle in their hair. They were in their element. Within minutes, the basket started to fill.
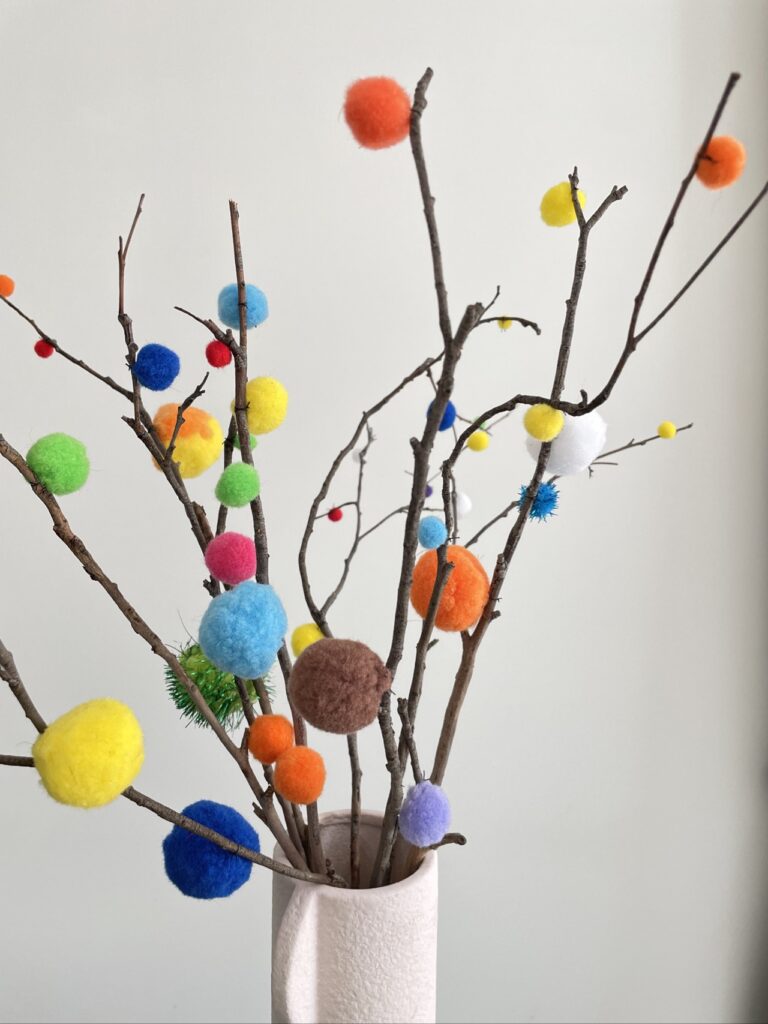
A full basket, an extended stop at the playground and a good dose of vitamin D later we made our way back home. It was time to get creative and we were excited to see how these easy pom pom crafts for adults and kids would turn out. Our vision was to fill a vase with colourful pom pom flower twigs and brighten up an otherwise boring corner of the house.
How to make easy pom pom crafts for adults and kids
Prepare your craft supplies
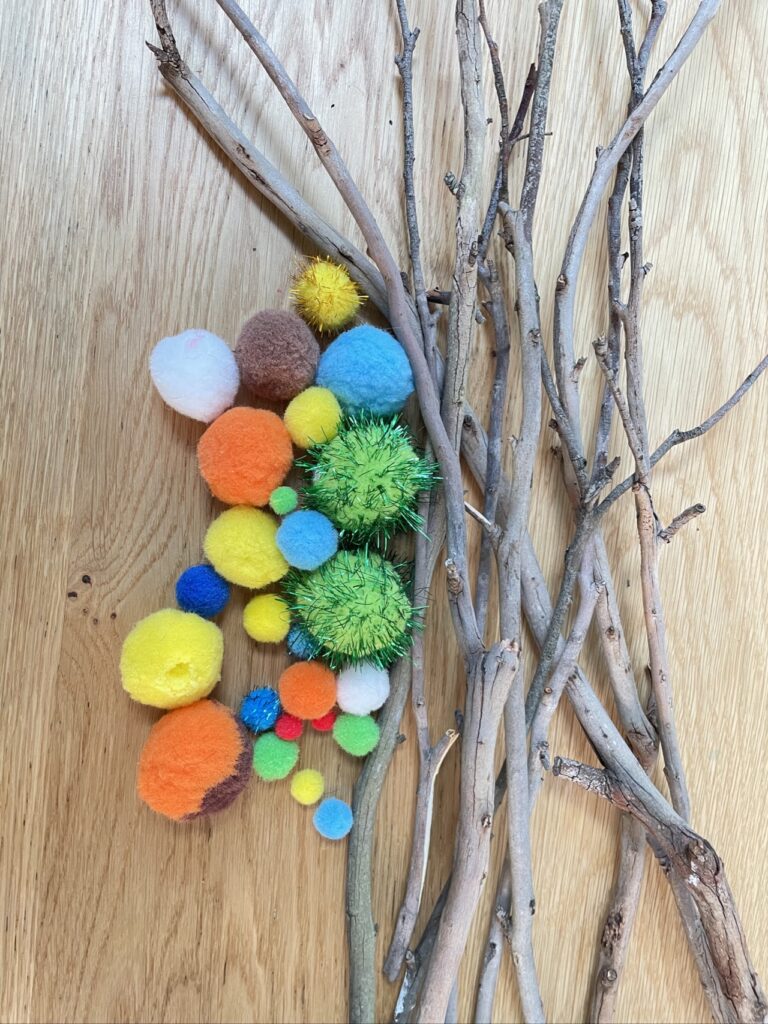
The first step is as described above. Take your family on a walk outside to collect some sticks. Explore your neighbourhood to find a few nice spots where twigs and branches have fallen to the ground. Try to find the driest and cleanest ones to avoid bugs making their way into your house. With an armful of twigs, start to make your way home again.
Lay the twigs on a dry, flat surface and assess them for even length. You may already want to test their length in your vase of choice to ensure the dimensions will look right. Break off any loose pieces of twig, bark or debris. You want your twigs to be as clean as possible.

Place your twigs into your vase or vases again to ensure you’re happy with their overall length. It’s important to test this before adding the pom poms, as adjusting the length after decorating is a little tedious. Think about the shape of a bunch of flowers when testing this.
Prepare to assemble
Place your twigs back on the table. It’s time to attach your pom pom flowers. Now, full disclosure, we don’t own a glue gun. I’m sure using a glue gun would make the next step a little faster, but I ended up finishing these easy pom pom crafts for adults and kids with needle and thread.
Choose a variety pom poms and place them on the table. You want to aim for a variety of colours and sizes, just as you would when putting together a bouquet of flowers. For my project, I picked a range of colours we had available. If you need to buy pom poms before you begin this project, you might want to colour co-ordinate as you would with real flowers. In terms of sizes, I found small pom poms to add delicate touches, while the larger ones make the piece pop.
Select thread of a colour similar to your twigs. In my case, I have used brown. Cut a long piece of thread, about 60cm and thread it into a thin needle. You don’t need the thread to double, single is perfectly fine. Leaving a gap of about 7-8cm between each, thread your pom poms onto the single thread. You could technically cut all pieces of thread first, but this would mean to get your needle threaded over and over again. In Sweet Brown’s words, Ain’t nobody got time for that. Instead, we add about 8 pom poms to a long thread, leave a gap between each and then cut the string. This is by far the quickest method to get your pom pom flowers ready. Repeat the process as many times as required. As a guideline, aim for at least 3 pom poms per twig.

Put it all together
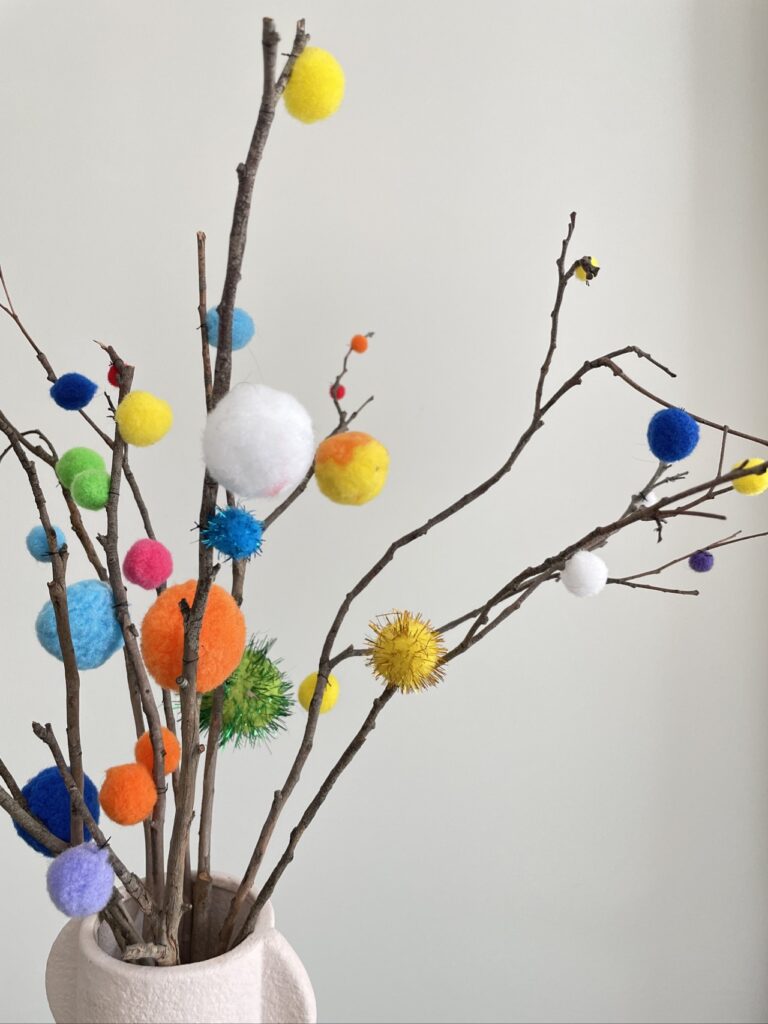
With the most work intensive part of our easy pom pom crafts for adults and kids completed, the time has come to finish the piece. Tie each of the pom poms onto a twig, placing the larger pom poms on the bottom, the smaller ones nearer the tips. Continue this process until all pom poms have been tied to your twigs.
Cut any loose ends of thread off. Now it’s time to place your pom-pom twigs back into the vase. Rearrange your bouquet as required to ensure it looks nice and is evenly distributed. If you find any gaps that could do with extra colour, fill them with some extra pom poms.
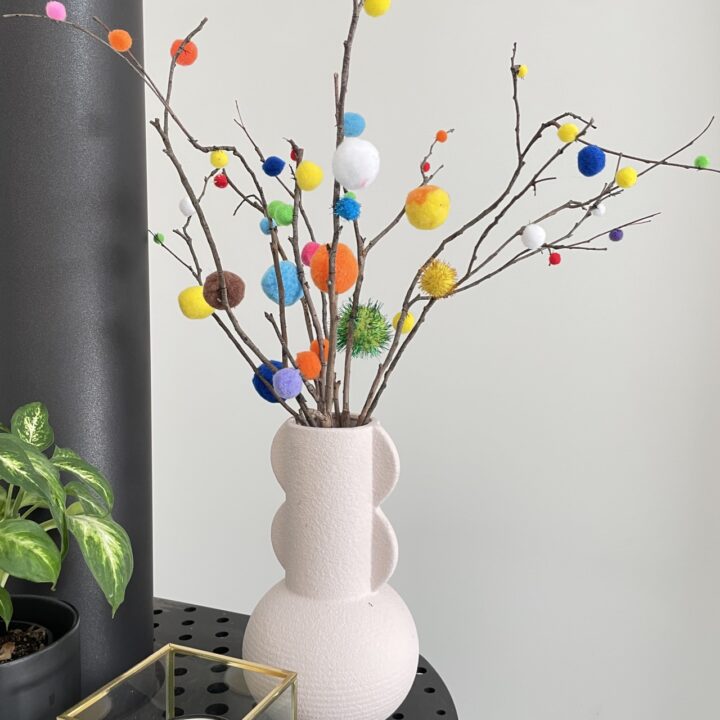
Lastly, take your bouquet and place it into a nice spot of the house for a touch of colour. I personally love seeing these types of non-seasonal decorations year round as they always add a touch of colour to my home. In summer, the fireplace becomes an ideal spot to display. Hallways and entryways also always benefit from a little handmade beauty. I love crafts that are simple and easy to make. And if you ever want to reuse any of the materials after you no longer enjoy the look of them you can simply cut the pom-poms off and turn them into something else.
Frequently asked questions
What to make with pom poms for adults?
We often see pom poms as part of fluffy little animal crafts. While these crafts are very cute and well loved by kids, not many adults want an entire zoo of little fluff balls displayed on their windowsill. Where pom poms are great is in contrast to other, very unexpected materials. Think about wood, metal, or even stone. Creating something very unexpected from two very different materials makes pom poms stand out and turn your craft into a true standout piece.
What to make with pom poms for kids?
Pom poms are a great addition to any craft supplies. The little fluff balls can turn into earrings, animals, or can turn an otherwise plain item of clothing to turn heads. Give kids the freedom to create something completely unexpected with whatever you have at hand. Combining pom poms with pipe cleaners creates a fluffy, colourful zoo of animals, while a cardboard cone makes a quick hat or ice cream cone to add to the play kitchen.
How do you attach pom poms to craft?
In my experience, a glue gun works best for attaching pom poms to other craft supplies. Common school glue unfortunately does not hold the enough of the material in place and often has the pom poms slide off. To decorate fabrics like pillows, bags or shirts, nothing goes past needle and thread. It may take a little longer to attach everything properly, but it’s well worth the time since you don’t need to fear items getting ruined in the wash either.

Easy pom pom crafts for adults and kids
Instructions
- The first step will take your family on a walk outside to collect some sticks. Explore your neighbourhood to find a few nice spots where twigs and branches have fallen to the ground. Try to find the driest and cleanest ones to avoid bugs making their way into your house. With an armful of twigs, start to make your way home again.
- Lay the twigs on a dry, flat surface and assess them for even length. You may already want to test their length in your vase of choice to ensure the dimensions will look right. Break off any loose pieces of twig, bark or debris. You want your wigs to be as clean as possible.
- Place your twigs into your vase or vases again to ensure you’re happy with their overall length. It’s important to test this before adding the pom poms, as adjusting the length after decorating is a little tedious. Think about the shape of a bunch of flowers when testing this.
- Place your twigs back on the table. It’s time to attach your pom pom flowers. Now, full disclosure, we don’t own a glue gun. I’m sure using a glue gun would make the next step a little faster, but I ended up finishing these easy pom pom crafts for adults and kids with needle and thread.
- Choose a variety pom poms and place them on the table. You want to aim for a variety of colours and sizes, just as you would when putting together a bouquet of flowers. For my project, I picked a range of colours we had available. If you need to buy pom poms before you begin this project, you might want to colour co-ordinate as you would with real flowers. In terms of sizes, I found small pom poms to add delicate touches, while the larger ones make the piece pop.
- Select thread of a colour similar to your twigs. In my case, I have used brown. Cut a long piece of thread, about 60cm and thread it into a thin needle. You don’t need the thread to double, single is perfectly fine. Leaving a gap of about 7-8cm between each, thread your pom poms onto the single thread. You could technically cut all pieces of thread first, but this would mean to get your needle threaded over and over again. In Sweet Brown’s words, Ain’t nobody got time for that. Instead, we add about 8 pom poms to a long thread, leave a gap between each and then cut the string. This is by far the quickest method to get your pom pom flowers ready. Repeat the process as many times as required. As a guideline, aim for at least 3 pom poms per twig.
- With the most work intensive part of our easy pom pom crafts for adults and kids completed, the time has come to finish the piece. Tie each of the pom poms onto a twig, placing the larger pom poms on the bottom, the smaller ones nearer the tips. Continue this process untill all pom poms have been tied to your twigs.
- Cut any loose ends of thread off. Now it’s time to place your pom-pom twigs back into the vase. Rearrange your bouquet as required to ensure it looks nice and is evenly distributed. If you find any gaps that could do with extra colour, fill them with some extra pom poms.
- Lastly, take your bouquet and place it into a nice spot of the house for a touch of colour.
