
Soft Dinner Rolls from Scratch – Easy, Fluffy, Perfect
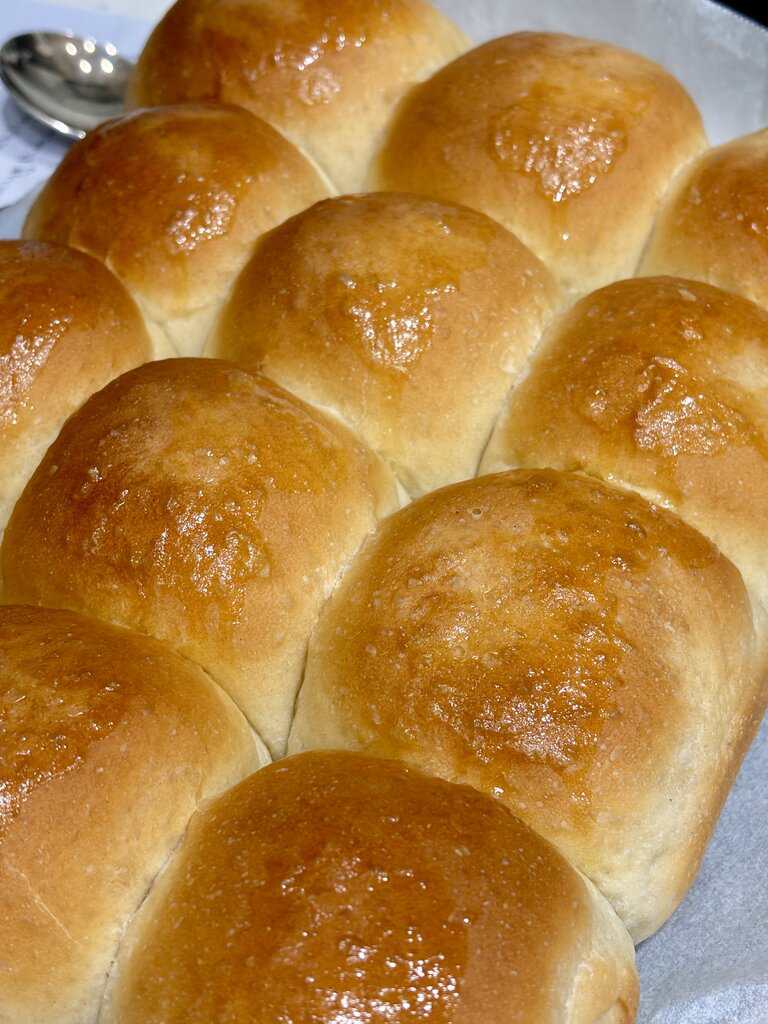
You know the soft dinner rolls recipe people always rave about? With rolls pillowy, tender, golden brown, and gone before the main dish even hits the table? We’re making them today!

Breadrolls are an art in themself. Growing up in Germany, where we worship bread more than we do punctuality, I was surrounded by bread rolls. From standard Broetchen to the very local Wasserwecken, a bread roll could serve as breakfast, lunch, or dinner.
But sometimes you just feel like a softer roll. One you can tear apart. One that laps up gravy and melts in your mouth. Like the ones we make in this soft dinner rolls recipe.
I love making these old-school, homemade yeast rolls! A few simple ingredients, a large bowl and a pit of patience is all you need. The reward? A dish full of soft, fluffy goodness ready to tear into.
This soft dinner rolls recipe is hands down a favorite in our household. I tried them with all purpose flour, wholemeal flour and a mix of both. They always turn out delicious!
So today, let’s explore how to make these delicious balls of goodness.
Ingredients
- 3 cups of flour (bread flour if you have it, plain flour works too)
- 30g butter, softened to room temperature
- 1 cup warm water
- 30g sugar (just a little sugar, this isn’t dessert!)
- 1 tsp salt
- 1 tsp instant yeast (or active dry yeast, see notes below)
- 1 egg, room temperature
Optional for finishing:
- Melted butter
Step-by-Step: How to Make Soft Dinner Rolls
1. Start with the yeast mixture
In the mixing bowl or large bowl of your stand mixer, combine the warm water and sugar. Sprinkle over the yeast. If you’re using active dry yeast, let it sit for 5–10 minutes until foamy. You can usually skip this step for instant yeast, which can go straight into the dough.
If nothing happens after 10 minutes, stop. Your yeast is dead. Fresh yeast matters more than optimism.
2. Start mixing
Fit the dough hook onto your stand mixer.
Add the softened butter to your yeast mixture and start to knead on low speed.
If you are using a bowl and wooden spoon instead, stir the ingredients until just combined.
3. Add the dry ingredients
Add flour and salt to the bowl, one cup (or less) at a time. Allow each cup of flour to get incorporated into your dough before adding your next cup.
Add the egg towards the end. I usually add mine after my second cup of flour has been fully incorporated.
4. Knead until smooth
Once all your ingredients have been added, increase the speed of your stand mixer. The head of the mixer should not bounce. If it does, reduce speed.
- Stand mixer: Knead on medium speed for 6–8 minutes
- By hand: Turn onto a lightly floured surface and knead for 10 minutes
By the end of it, the dough should pass the windowpane test.
You want:
- A smooth ball
- Dough pulling away from the sides of the bowl (or kitchen bench)
- Soft, slightly tacky, but not sticky
If needed, add a little more flour, one heaped tablespoon at a time.
5. First rise (don’t rush this)
Place the dough in a lightly oiled bowl (vegetable oil works). Cover with plastic wrap or a damp cloth.
Put it in a warm place and let the dough rise for 1–2 hours, until doubled. I usually use my oven’s dough proofing setting during colder months.
If your house is cold, the dough will take longer to rise, so don’t be alarmed. Rising time depends on temperature, not vibes.
Your dough will eventually reach double its initial size. Give it the time it needs to get there.
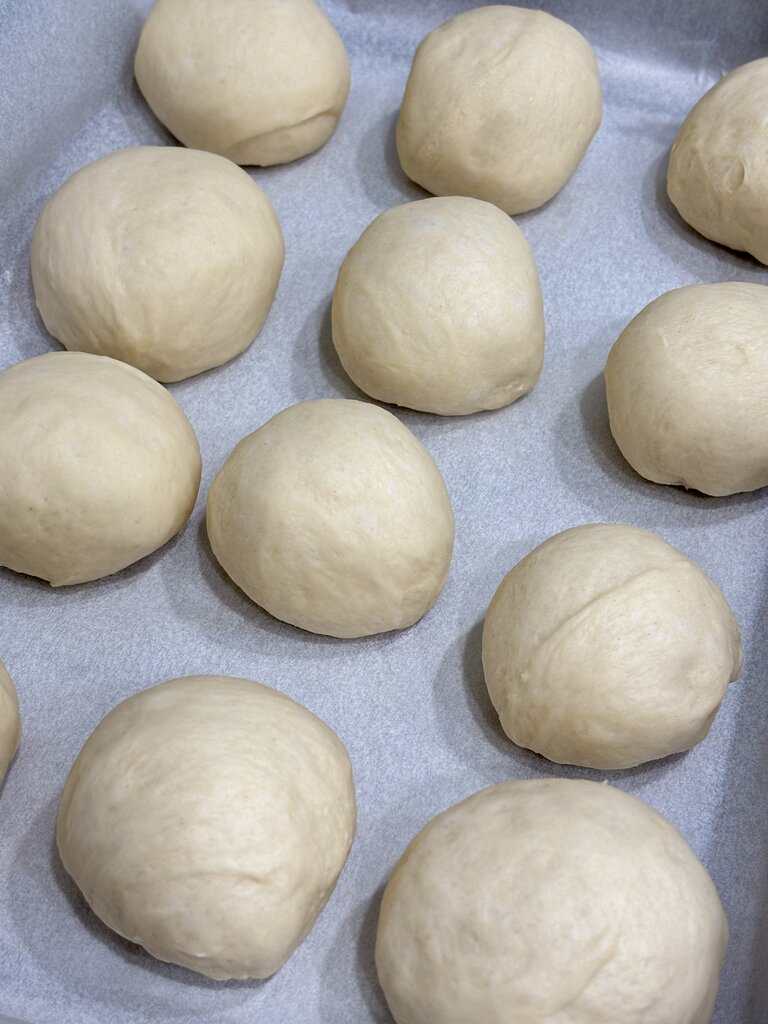
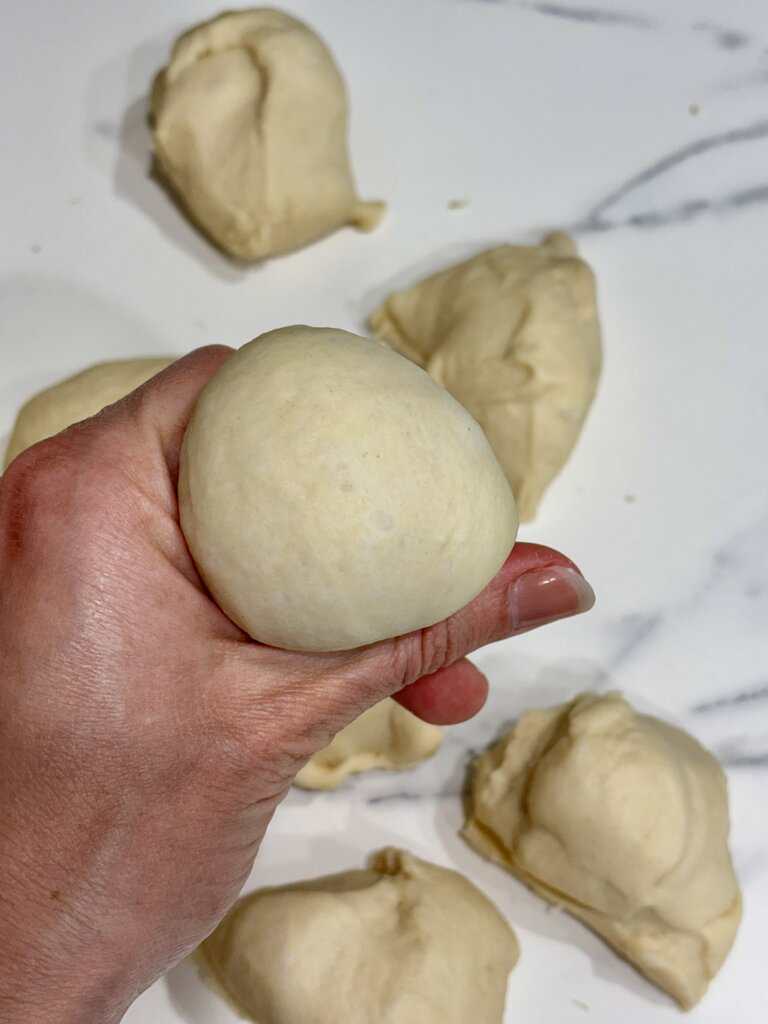
6. Shape the dough balls
Punch the dough down gently. This will deflate all this beautiful volume again but fear not, it’s part of the process.
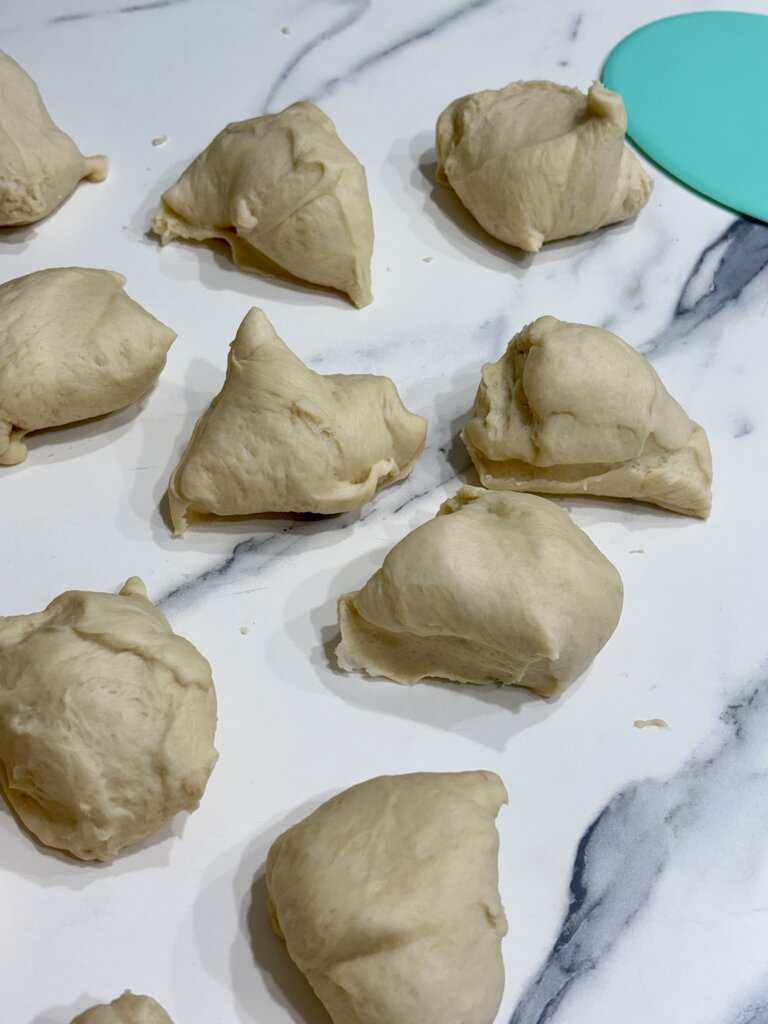
Divide your dough into equal portions and shape into tight dough balls with smooth tops. I usually aim for 10-12 small rolls, or 6-8 large rolls when using this recipe.
After the initial shape of each roll I like to form an “O” with my thumb and index finder and push each dough ball through it from below. This gives the top of each roll a nice bit of tension.
Place your shaped rolls on a lined baking sheet, leaving a little space between each. You’re aiming for a good finger’s width worth between each. This helps the rolls rise and support each other.
Cover your tray loosely with oiled plastic wrap or a smooth, damp tea towel.
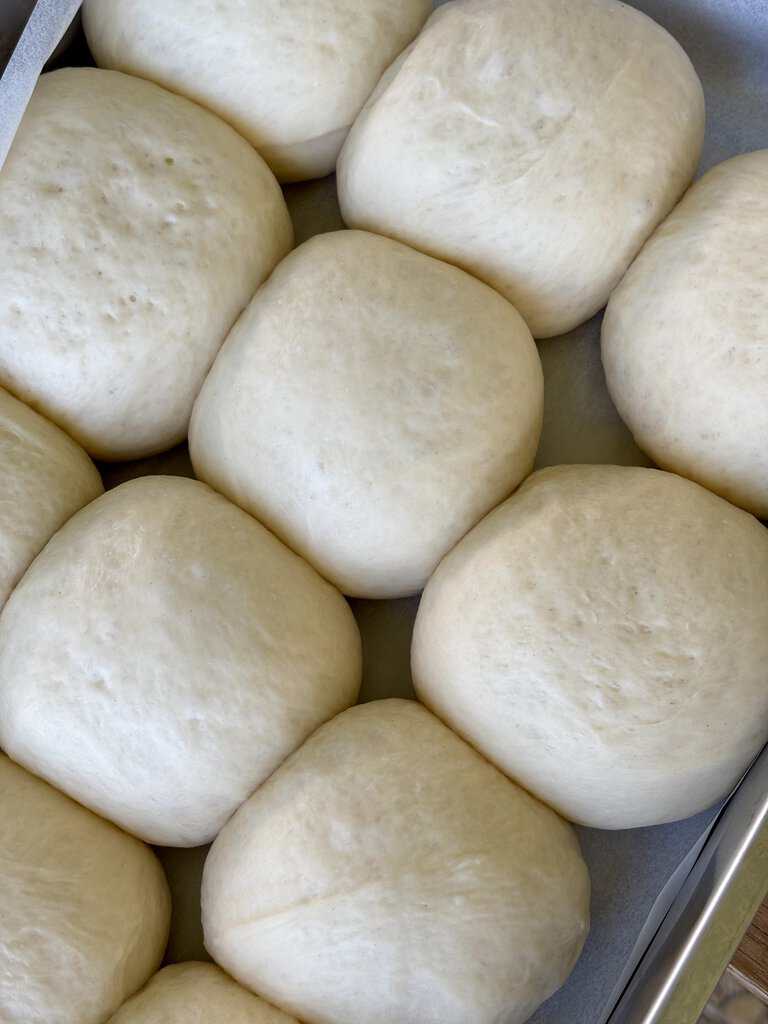
7. Second rise
Let the rolls rise again for 30 – 45 minutes, until they’re puffy and touch. Once again, I like to use my oven for this step.
This second rising time is what separates soft dinner rolls from dense bread pretending to be rolls. Give them the time they need to rise high and mighty.
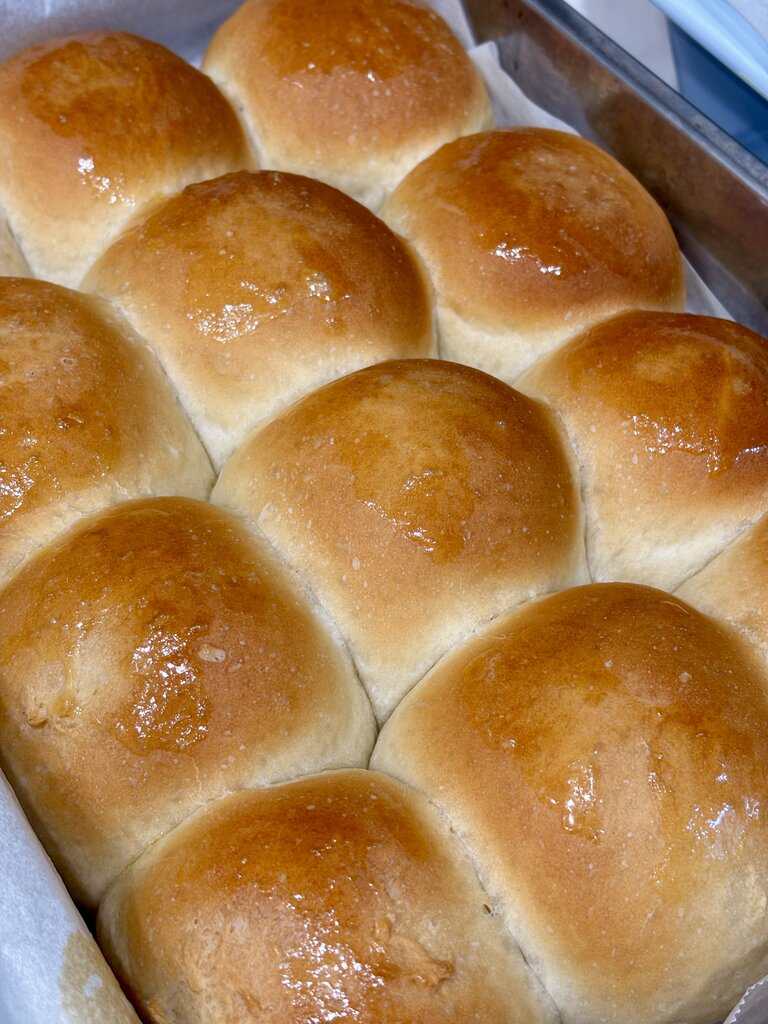
8. Optional: Egg wash & bake
Brush with egg wash for that golden brown finish or place your rolls straight into the oven.
Bake them on the middle oven rack at 180°C (350°F) for around 25 minutes, until beautifully golden.
If the tops brown too fast, cover them loosely with aluminum foil.
9. Butter. Always butter.
Once baked, lift the parchment paper off the baking tray and onto a wire rack. This helps your rolls to cool properly while avoiding steam getting trapped.
Brush the tops of your rolls generously with melted butter while hot to give them a shiny finish.
Then try not to eat three before dinner. This one’s the hardest part!
Gluten and dairy free butternut squash soupServe with dinner and a side of homemade herb butter, or with your favorite soup recipe.
Storage, Next Day & Make-Ahead Options
Storing leftover rolls
Once cooled, store your soft dinner rolls in an airtight container at room temperature.They stay soft the next day, especially if brushed with butter.


Freezer friendly
- Freeze baked rolls in a freezer bag. You can do this even if they’ve been brushed with butter.
- To re-heat, I place my frozen rolls into the oven at 180°C (350°F) until I can smell them. I know this isn’t a very accurate measure, but that’s how I do it. If I had to guess I’d say it takes at least 10 minutes to fully heat.
- Another option is to freeze unbaked rolls after shaping. When you need them, thaw them, let them rise, then bake.
This soft dinner rolls recipe is perfect as make-ahead options for your next holiday meal.

FAQs (Because These Always Come Up)
Can I use warm milk instead of water?
Yes. Whole milk gives these rolls a slightly richer crumb. Just remember that yeast can only handle so much heat. That’s why your milk should only be warm, not hot.
Instant yeast vs active dry yeast?
Both work. Instant yeast is faster. Active dry yeast needs proofing first. At the end of the day they both do the job well.
Why weren’t my rolls soft?
Usually one of three things:
- Too much flour. Stick to the recipe the first few times and only add extra flour if your dough is still very wet and sticky after 10min of kneading.
- Not enough rise time. This one is crucial! You have two rise times and during both, your dough should double in size. Don’t proceed to the next step until that part’s been achieved.
- Yeast wasn’t fresh. Someone once told me to store my yeast in the freezer as soon as I open the packet. I don’t know how much truth there is to it, but I haven’t had any issues since I started that.
Can I make these into pizza dough?
Absolutely. Skip the second rise shaping, roll it out, and you’re there. You might want to reduce the sugar though.
Why This Soft Dinner Rolls Recipe Works (Every Time)
This recipe turns out perfect because
- It gives your dough the proper rising time for air bubbles to develop, which ultimately lift your rolls and make them fluffy. Remember what I said and give your dough plenty of time to rise.
- Moderate sugar makes them soft, not cakey. If we wanted dessert, we’d bake a cake. These are tender rolls just like grandma Barb used to serve.
- They stay soft in an air-tight container. Nothing worse than eating a stale roll for breakfast.
Just like your secret homemade bread recipe, this is the dinner rolls recipe you’ll keep coming back to. Let me know in the comments which flour you tried and loved, I’d love to hear from you!

Soft Dinner Rolls
Pillowy, tender, golden brown, and gone in minutes!
Ingredients
- 3 cups of all purpose flour
- 30g butter, softened to room temperature
- 1 cup warm water
- 30g sugar
- 1 tsp salt
- 1 tsp instant yeast
- 1 egg, room temperature
- Optional for finishing: Melted butter
Instructions
- In the mixing bowl or large bowl of your stand mixer, combine the warm water and sugar. Sprinkle over the yeast. If you’re using active dry yeast, let it sit for 5–10 minutes until foamy. You can usually skip this step for instant yeast, which can go straight into the dough.
- Fit the dough hook onto your stand mixer.
Add the softened butter to your yeast mixture and start to knead on low speed. - Add flour and salt to the bowl, one cup (or less) at a time. Allow each cup of flour to get incorporated into your dough before adding your next cup.
Add the egg towards the end. - Once all your ingredients have been added, increase the speed of your stand mixer. The head of the mixer should not bounce. If it does, reduce speed.
Stand mixer: Knead on medium speed for 6–8 minutes, until it passes the windowpane test. - Place the dough in a lightly oiled bowl (vegetable oil works). Cover with plastic wrap or a damp cloth.
Put it in a warm place and let the dough rise for 1–2 hours, until doubled. - Divide your dough into equal portions and shape into tight dough balls with smooth tops. I usually aim for 10-12 small rolls, or 6-8 large rolls when using this recipe.
- Let the rolls rise again for 30 - 45 minutes, until they're puffy and touch.
- Brush with egg wash for that golden brown finish or place your rolls straight into the oven.
Bake them on the middle oven rack at 180°C (350°F) for around 25 minutes, until beautifully golden. - Once baked, lift the parchment paper off the baking tray and onto a wire rack.
Brush the tops of your rolls generously with melted butter while hot to give them a shiny finish.
Notes
- Freeze baked rolls in a freezer bag. You can do this even if they've been brushed with butter.
To re-heat, I place my frozen rolls into the oven at 180°C (350°F) until I can smell them. I know this isn't a very accurate measure, but that's how I do it. If I had to guess I'd say it takes at least 10 minutes to fully heat. - Another option is to freeze unbaked rolls after shaping. When you need them, thaw them, let them rise, then bake.