
The Only Everyday White Sandwich Bread Recipe You’ll Ever Need
Ever since I was a little girl, there has been nothing better to me than the smell of a freshly baked loaf of bread. To be fair, German bakeries and their unique ability to cover a whole town in the smell of freshly baked goods is something I haven’t been able to find anywhere else in the world. So, needless to say that store bought bread just won’t cut it for me. So what better to learn than an everyday white sandwich bread recipe?
With my girls living a very Australian lifestyle soft white sandwich bread has become the go to in our household. And while I don’t mind buying the occasional loaf, I am a strong believer in basic ingredients. This is why nailing a white sandwich bread recipe was on top of my list when embarking on my home-made bread journey.
Now, I know what you’re thinking, Instagram said bread making was hard. Well, that’s what I thought, too. At least the first time. But when I came across this fool proof recipe, the only thing I could think of was how my life would change forever.
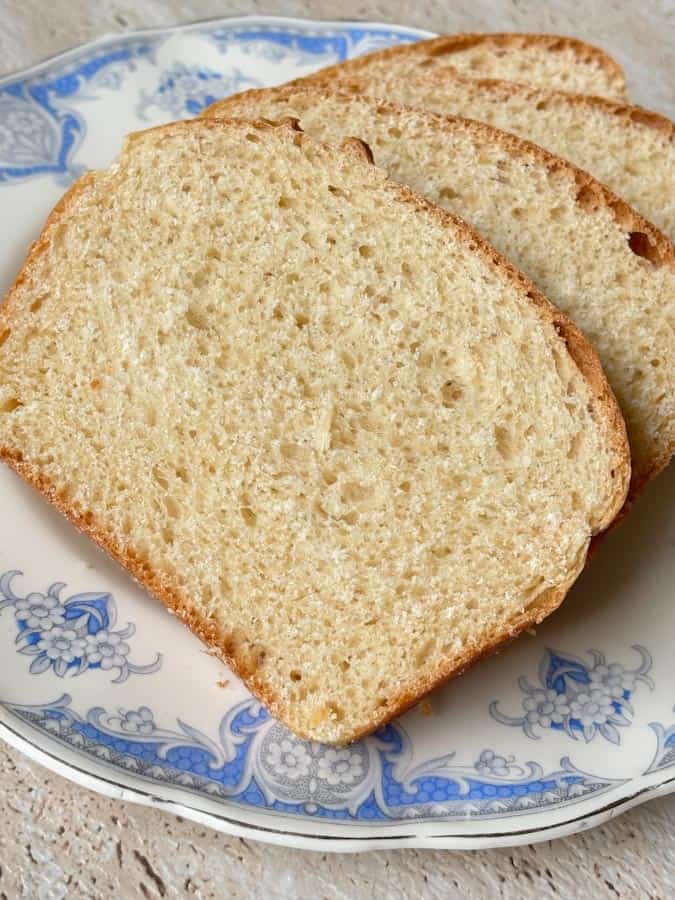
This everyday white sandwich bread is the loaf I bake when I want life to run smoothly. It’s simple, it’s reliable, and it’s easily made between Zoom calls or your evening activity routine. This is homemade white sandwich bread made the way it used to be: simple, forgiving, and practical. It uses basic ingredients, comes together in one large bowl, rises beautifully in a warm environment, and bakes into a golden brown loaf of bread that slices cleanly and actually holds a sandwich.
And unlike my sourdough recipe, this one delivers two loaves. One for right away, the next to store in the freezer or fridge for later in the week.
If you’ve ever wanted a soft white sandwich bread that works for school lunches, toast, peanut butter sandwiches, grilled cheese, and french toast – this is it. This white sandwich bread recipe is the one I return to week after week, and it’s the recipe I recommend to anyone baking bread for the first time.
Why This Homemade Bread Is Worth Making
There’s a time and place for fancy bread. But today is not that time.
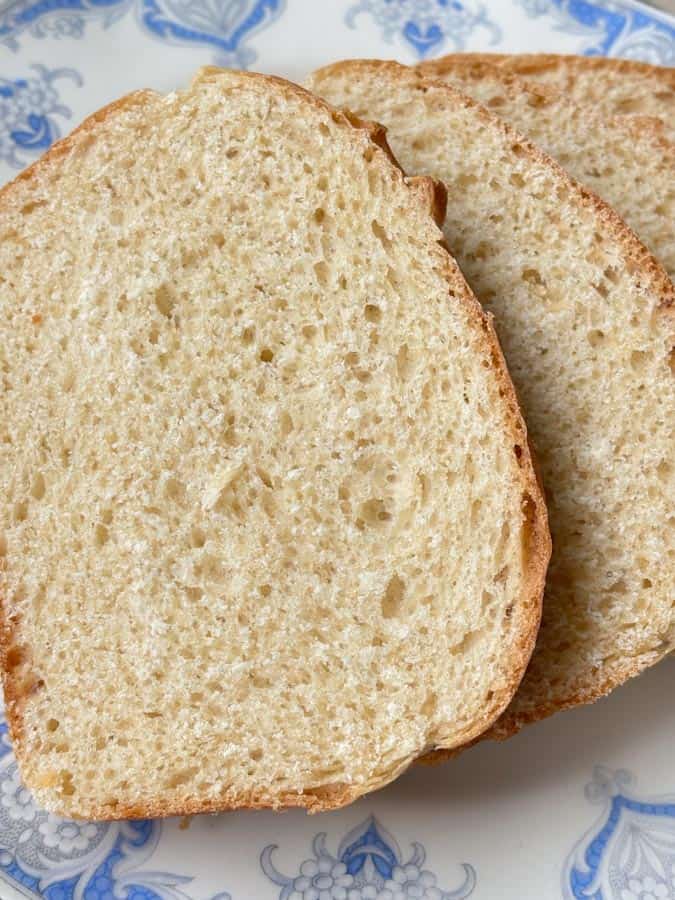
This one here is the perfect white bread for everyday use. The kind that quietly supports your life instead of complicating it. It’s soft without being flimsy, sturdy without being heavy, and sweet enough for kids while still tasting like real bread.
This soft sandwich bread is:
- Made with everyday dry ingredients
- Easy to mix by hand or in the bowl of a stand mixer
- Forgiving with rise times
- Reliable even in a humid climate like mine
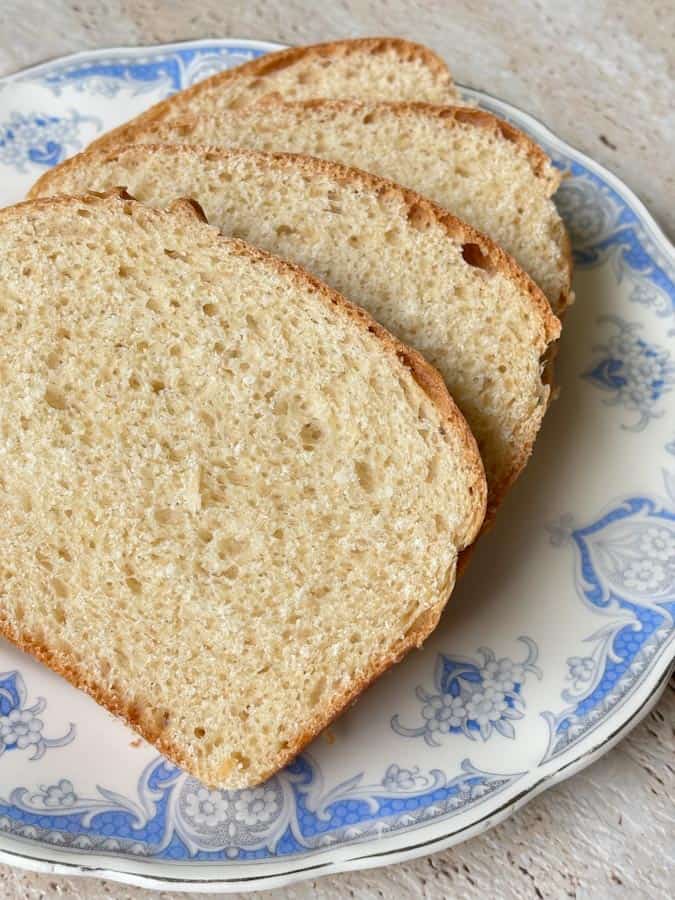
- Easily sliceable once fully set and bread cool
- Excellent for toast, sandwiches, and french toast
- Easy to freeze for longer storage
If you’ve been buying sandwich loaves because homemade bread felt like “too much,” this recipe is for you!
Ingredients for Everyday White Sandwich Bread
Makes 2 bread loaf pans
This everyday white sandwich bread recipe makes two loaves because the only thing worse than waiting for a dough rise is only ending up with one loaf at the end of it.
- 2 cups lukewarm water (roughly room temperature)
- 2 teaspoons active dry yeast or instant yeast
- ¼ cup of sugar
- ¼ cup melted butter (cooled slightly)
- 2 teaspoons sea salt (or table salt)
- 1 egg
- 6 cups all purpose flour
You can replace butter with olive oil, avocado oil, vegetable oil, or coconut oil if needed. Bread flour can also be used for extra chew, but all purpose flour keeps this loaf soft and classic and is ideal for beginner bread bakers.

Choosing the Right Type of Yeast
This recipe works with almost any type of yeast:
- Active dry yeast
- Instant yeast
- Rapid rise yeast
The amount of yeast stays the same. Instant yeast simply shortens the rise times slightly. If you’re using standard oz packets, one packet is slightly more than required but that’s totally fine.
If your yeast doesn’t foam during activation, it’s old. Toss it and try again with a fresh batch.
How to Make Homemade White Sandwich Bread
Activate the Yeast
In a large bowl, combine the lukewarm water, sugar, and yeast. Stir gently with a wooden spoon or rubber spatula.
Let it sit for 3 – 5 minutes until foamy. This step matters, especially if it’s your first time working with yeast.
Mix the Dough
Add the melted butter, egg, and salt. Stir to combine.
Add the flour gradually, one cup of flour at a time. Mix until the dough pulls away from the sides of the bowl and forms a cohesive mass.
You can:
- Mix by hand
- Use a dough hook in the bowl of a stand mixer on low speed
Knead Until Smooth
Knead until the dough becomes elastic and forms a smooth dough. The dough should feel soft, not sticky. Add additional flour only if needed.
If you pull off a small piece of dough, it should stretch slightly without tearing. If your dough is tearing instantly, keep kneading. Depending on your mixer, flour and lots of other factors, this can take anywhere from 10 minutes to half an hour. Take your time and allow the gluten to properly develop. I promise you, it’ll be worth it in the end.
First Rise (Bulk Fermentation)
Place your dough into a lightly greased bowl, cover it tightly with plastic wrap or a damp tea towel to keep the top of the dough from drying and cracking. Set it in a warm place to rise. My oven has a dough rise functionality which I often use, yours might have the same.
This first rise (also known as bulk fermentation) takes about 1 to 1½ hours, depending on room temperature. Your dough is ready for the next step once it’s doubled in size.
Dough Rest & Shaping
Punch the dough down gently and let it rest on a lightly floured work surface for a few minutes. This relaxes the gluten and makes shaping easier. This is a good time to prepare your bread pans by greasing them or lining them with parchment paper.
Divide the dough using a bench scraper. Shape each dough half into a rectangle, roll it up tightly, and place it (seam side down) into your prepared bread loaf pans.
The dough should now sit just below the rim of the pan.
Second Rise
Cover your pans loosely with greased plastic wrap or a damp tea towel. Give the dough time for its second rise (until the dough rises slightly above the pan).
In a warm environment, this usually takes 45–60 minutes.
Bake to Golden Perfection
Bake at 180°C / 350°F for 30 minutes until the top of the bread is golden brown.
The loaf is done when the internal temperature reaches about 88–90°C (190–195°F). If this is your first time baking, an instant-read thermometer eliminates all guesswork.
Cooling Matters
Remove both loaves from their pans and place them on a wire rack to cool.
Let the bread cool completely before slicing. Cutting too early traps steam and ruins texture. I usually bake my bread in the later afternoon to evening and let it cool under a tea towel over night, ready for breakfast the next morning.
Storage, Freezing & Make-Ahead Tips
- Store at room temperature in a bread bag, zip loc bag or under a tea towel for up to 3 days
- Freeze the full loaf or sliced bread for up to 1 month
- Toast single slices straight from frozen – perfect for peanut butter or french toast
Homemade bread freezes far better than store-bought bread and reheats beautifully.
Best Ways to Use This Soft White Sandwich Bread
This loaf shines in everyday situations:
- School lunch sandwiches
- Breakfast toast with butter or honey
- Grilled cheese
- French toast
- Soup dunking
It’s neutral enough for sweet, sturdy enough for savoury, and soft enough for kids.


Variations (When You Feel Like It)
This recipe is perfect as written, but you can:
- Swap some flour for half whole wheat flour
- Use bread flour for extra chew
- But: avoid heavy whole grain flour unless you expect a denser loaf
This isn’t sourdough bread or fancy Japanese milk bread. It’s simple, classic, and so perfect for families.
This everyday white sandwich bread recipe isn’t trendy. It doesn’t rely on gimmicks, bread machines, or special techniques. It’s a foolproof recipe built around basic ingredients, common sense, and old-school know-how.
If you bake it once, you’ll bake it again. And slowly, without making a big deal of it, you’ll stop buying sandwich bread altogether.

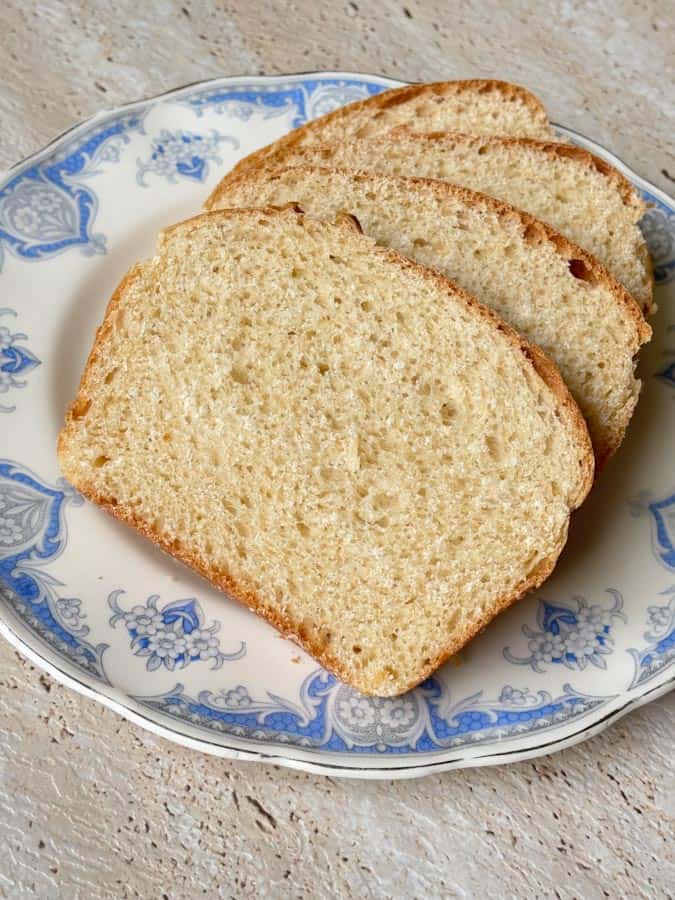
Everyday White Sandwich Bread
Perfect for everyday sandwiches, toast, and freezing.
Ingredients
- 2 cups lukewarm water (roughly room temperature)
- 2 teaspoons active dry yeast or instant yeast
- ¼ cup of sugar
- ¼ cup melted butter (cooled slightly)
- 2 teaspoons sea salt (or table salt)
- 1 egg
- 6 cups all purpose flour
Instructions
- In a large bowl, combine the lukewarm water, sugar, and yeast. Stir gently with a wooden spoon or rubber spatula. Let it sit for 3 - 5 minutes until foamy.
- Add the melted butter, egg, and salt. Stir to combine.
- Add the flour gradually, one cup of flour at a time. Mix until the dough pulls away from the sides of the bowl and forms a cohesive mass.
- Knead until the dough becomes elastic and forms a smooth dough. The dough should feel soft, not sticky. Add additional flour only if needed.
- Place your dough into a lightly greased bowl, cover it tightly with plastic wrap or a damp tea towel to keep the top of the dough from drying and cracking. Set it in a warm place to rise. This first rise (also known as bulk fermentation) takes about 1 to 1½ hours, depending on room temperature. Your dough is ready for the next step once it's doubled in size.
- Punch the dough down gently and let it rest on a lightly floured work surface for a few minutes. This relaxes the gluten and makes shaping easier. This is a good time to prepare your bread pans by greasing them or lining them with parchment paper.
- Divide the dough using a bench scraper. Shape each dough half into a rectangle, roll it up tightly, and place it (seam side down) into your prepared bread loaf pans. The dough should now sit just below the rim of the pan.
- Cover your pans loosely with greased plastic wrap or a damp tea towel. Give the dough time for its second rise (until the dough rises slightly above the pan). In a warm environment, this usually takes 45–60 minutes.
- Bake at 180°C / 350°F for 30 minutes until the top of the bread is golden brown.
- Remove both loaves from their pans and place them on a wire rack to cool.
Notes
- Let the bread cool completely before slicing. Cutting too early traps steam and ruins texture. I usually bake my bread in the later afternoon to evening and let it cool under a tea towel over night, ready for breakfast the next morning.
- My oven has a dough rise functionality which I often use, yours might have the same.