
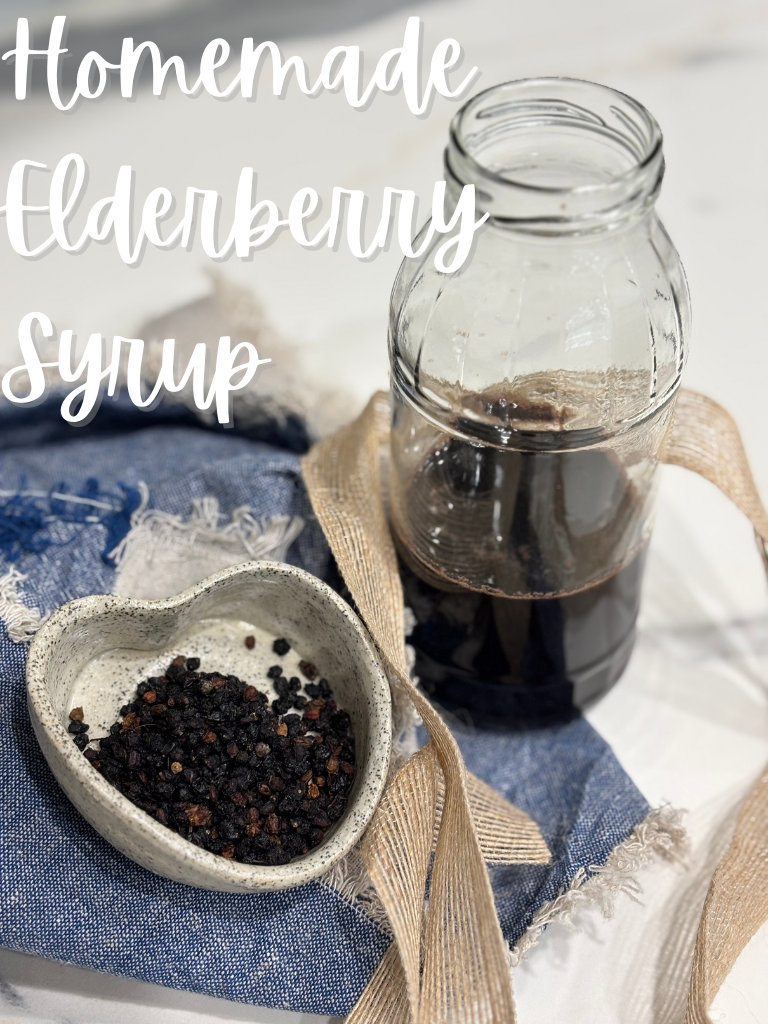
Homemade Elderberry Syrup (Easy Immune Support)
There’s something about flu season that makes me crave the comforting rituals. When the sniffles start spreading like wildfire through school pick-up lines and office kitchens, I skip the pharmacy aisle and head straight to my fridge. That’s where my jar of homemade elderberry syrup lives. Dark, rich, and ready to fight back. It’s one of those old-school natural remedies that have stuck around for good reason.

I remember walking past huge bushes of elderberry plants on my way home from school. Their black elderberries always looked so beautiful, especially in late summer.
These days, I might not have the same foraging opportunities. Unless you count a trip to the local organic market. But the magic of this elderberry syrup recipe is that it still brings that same sense of old-fashioned care into my modern kitchen.
The health benefits of elderberry are now backed by modern science. Turns out Oma didn’t need a PhD to know her stuff. Studies show that elderberries have strong immune-boosting properties, thanks to their antioxidants and vitamin-rich medicinal value.
They help combat oxidative stress, support your immune system, and may even shorten the length of a cold should you happen to catch one after all. So yes, this tried and true, sweet, sticky concoction is more than a sip of comfort. It’s powerful traditional medicine with real benefits.
Making your own elderberry syrup is, honestly, a great way to take control of your family’s health. Even better, all while avoiding sugar-based syrup that’s loaded with additives.
You get to choose the ingredients, tweak the water amount, and play around with optional spices like cinnamon or clove. Way better than those store-bought liquids that all come in the same, sickly artificial flavors. To top it all off, your kitchen will smell like Christmas came early.
The whole process is simple: simmer, strain, stir, and store. Whether you drizzle it over pancakes, stir it into tea, or make homemade elderberry gummies for the kids, it’s like keeping a piece of nature’s medicine cabinet right in your fridge. My personal favorite is to add it to my homemade water kefir. Delicious, refreshing and full of health benefits!
And while I’m not trying to discredit the effects of conventional medicine, I like that your own homemade elderberry syrup is a great natural way to strengthen your immune system as a first line of defence. For everyday use, elderberries are one of those medicinal herbs that bridge the gap between traditional medicine and modern life.
All About Elderberry Syrup
What are the benefits of elderberry syrup?
Homemade elderberry syrup is packed with immune-boosting antioxidants, vitamins A and C, and compounds that can reduce oxidative stress and inflammation. The health benefits of elderberry are broad. It’s known to support respiratory health, soothe sore throats, and boost overall wellness during flu season. Historically, the elderberry plant has been used across North America and Europe for medicinal purposes, long before supplements came in capsules.
Does elderberry really help you from not getting sick?
It’s not a miracle cure, but it’s a solid complementary wellness aid. Modern science has shown what our ancestors already knew – that black elderberry extract can reduce the duration and severity of cold and flu symptoms. Basically, it gives your immune system a head start when everyone else is coughing their way through winter.

Should you take elderberry syrup in the morning or at night?
Morning is usually best! A spoonful of own elderberry syrup before breakfast gives your immune system that gentle nudge it needs. But if you’re already feeling run down, another spoon at night can help your body recover. Since it’s all-natural and doesn’t contain stimulants, it’s safe at any time of the day.
How quickly does elderberry work?
Most people start feeling better after a couple of days of regular use. If you take your elderberry syrup recipe at the first signs of a sniffle, you’ll likely shorten the cold’s grip. It’s not instant, but I find it works faster than you’d expect from something so simple and homemade.
Ingredients
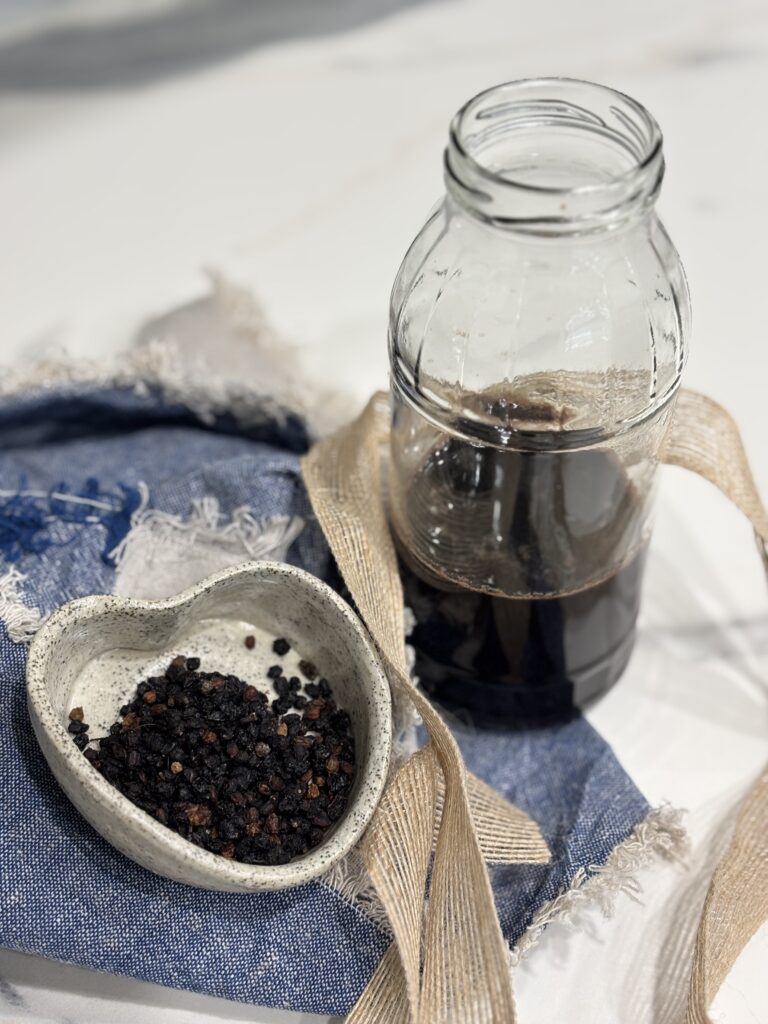
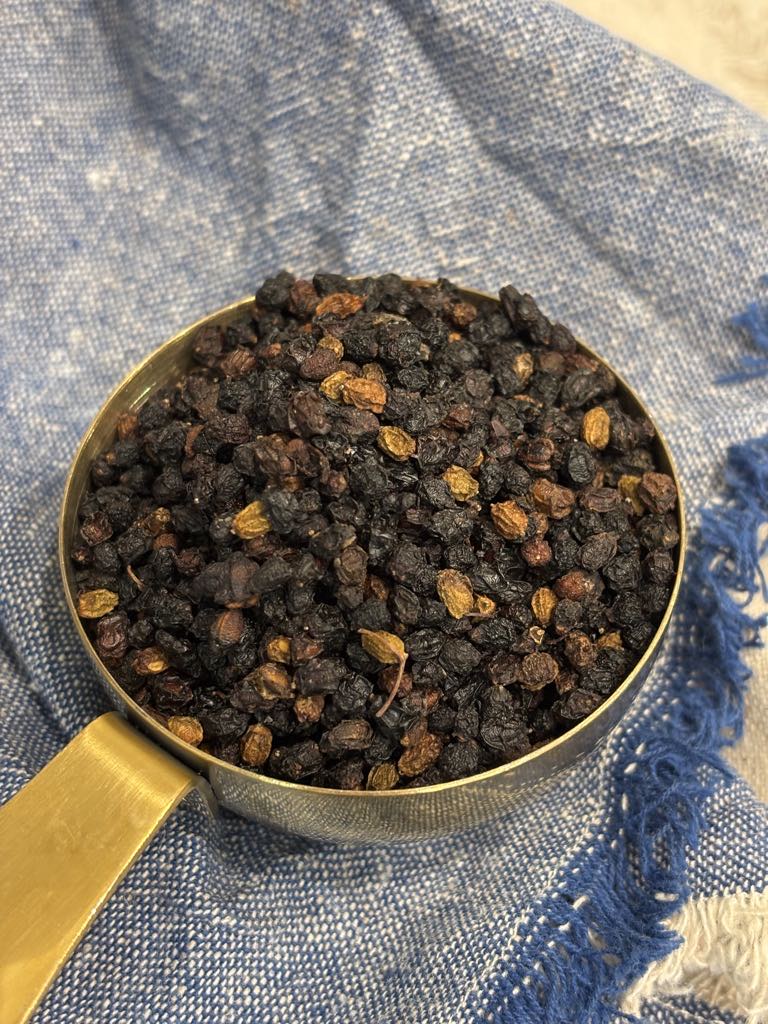
- 1 cup dried black elderberries
- 4 cups of water (or adjust the water amount for a thicker syrup)
- 1 cup of honey (or up to 1½ cups of honey if you prefer it sweeter)
- 1 cinnamon stick (or other optional spices like clove or star anise)
- 1 small piece of fresh ginger, sliced
- 1 tablespoon lemon juice (optional, for a lighter color)
- 1 pinch ground cloves (optional)
Instructions
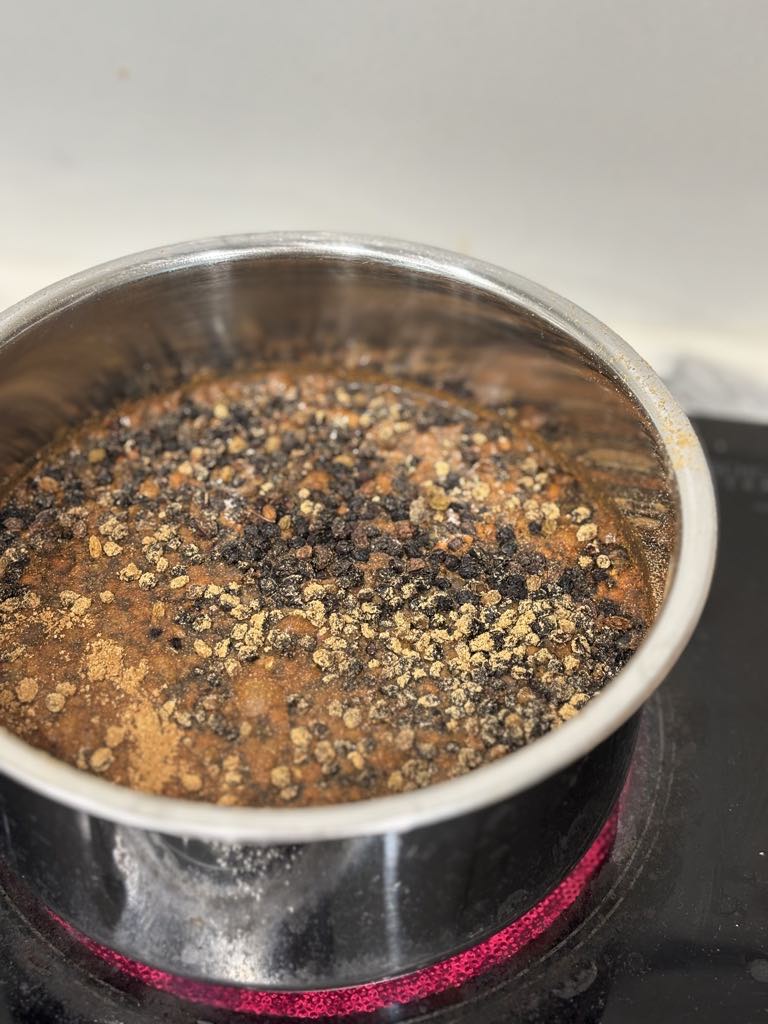
- Combine the dried elderberries, cups of water, cinnamon, ginger, and lemon juice in a medium saucepan.
- Bring to a boil, then reduce the heat and simmer on low for about 45 minutes until the liquid reduces by half.
- Turn off the heat and allow the elderberry mixture to cool slightly.
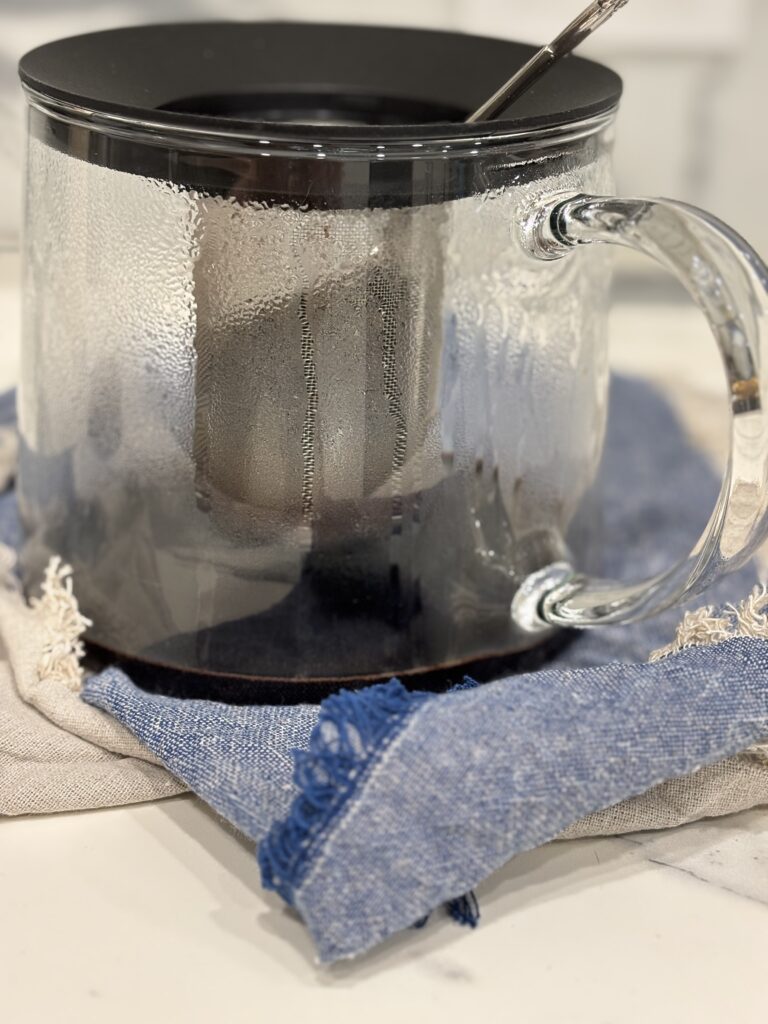
- Using a fine sieve or fine mesh strainer, pour the liquid into a clean bowl. Press the berries gently to extract all the elderberry juice. Make sure to discard the solids! NOTE: Never eat raw elderberries or unripe berries. They contain hydrocyanic acid, which isn’t safe in raw form.
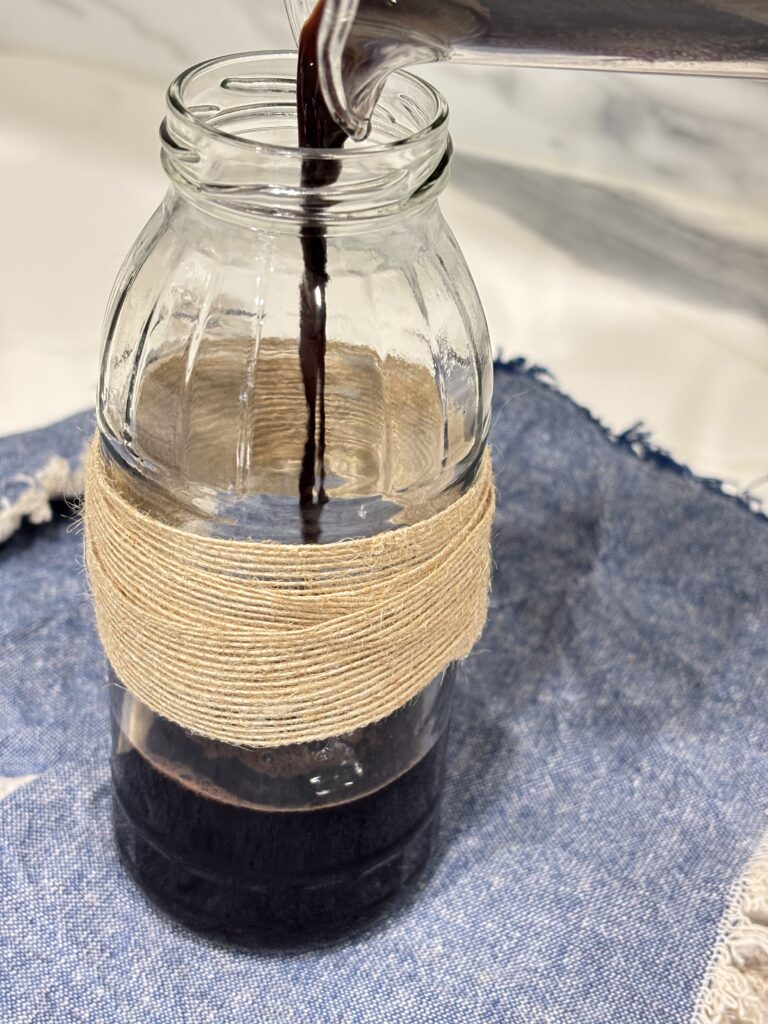
- When the liquid is warm, stir in the cups of honey. Stir until fully combined.
- Pour into a sterilized glass jar or airtight container. Store in the fridge for up to 2 months.
- Take one tablespoon of elderberry syrup a day, or drizzle it over desserts, breakfast or to mix it into your favorite drink.
Why You’ll Love This
- It’s a great way to carry on old-school traditions with modern health benefits.
- It uses simple ingredients you can pronounce.
- Packed with immune-boosting properties that are perfect for flu season.
- Smells like Christmas in a pot and tastes like comfort on a spoon.
- Making your own elderberry syrup just feels incredibly satisfying.
Tips & Tricks
- Always cook raw berries! Never ever eat raw elderberries straight from the bush.
- Don’t add the honey while the mixture is too hot. Cooking honey at high heat destroys its natural enzymes.
- For a stronger elderberry recipe, simmer longer for a thicker, richer syrup.
- Keep your syrup in a cool place until opened, then refrigerate to extend the shelf life.
- The syrup keeps well at room temperature for short trips but should be chilled for long-term storage.
- If you’re planning to travel, pour a little syrup into a smaller bottle to take with you. Leave the bulk of it at home in the fridge.
- If you’re worried about health concerns, consult your doctor. Especially for kids under one year of age (because of honey).


Easy Substitutions
- Vegan option: Replace raw honey with maple syrup or agave.
- Low-sugar: Halve the honey and use stevia to taste.
- Extra flavor: Add a drop of essential oil like cinnamon or orange for a twist. Make sure to only use food-grade oils and only in very small amounts.
- Different forms: Try using this syrup as a base for elderberry soda, homemade elderberry gummies, or even mix it with cups of juice for a kid-friendly drink.
A Few Extra Tips
- Avoid raw elderberries or unripe berries. They contain hydrocyanic acid, which can cause nausea if eaten raw.
- Store your syrup in a clean glass bottle, not plastic, for longer shelf life.
- Label your jar clearly with both month and year. While your own syrup will probably be emptied pretty quickly, you’ll always want to ensure you know when to start checking for signs of spoiling.
- When in doubt, remember that traditional medicine and modern science can work hand in hand. Elderberry isn’t a replacement for prescribed care, but it’s a beautiful way to strengthen your immune system without drug administration.
I always feel there’s something special about stirring up your own batch of homemade elderberry syrup. It’s like bottling up comfort, care, and centuries of wisdom. Whether you’re fighting through flu season or just want to stay well, this little jar of dark gold reminds us that sometimes, the simplest elderberry recipe is also the most powerful.

Homemade Elderberry Syrup
Boost your family's immune system this flu season.
Ingredients
- 1 cup dried black elderberries
- 4 cups of water (or adjust the water amount for a thicker syrup)
- 1 cup of honey (or up to 1½ cups of honey if you prefer it sweeter)
- 1 cinnamon stick (or other optional spices like clove or star anise)
- 1 small piece of fresh ginger, sliced
- 1 tablespoon lemon juice (optional, for a lighter color)
- 1 pinch ground cloves (optional)
Instructions
- Combine the dried elderberries, cups of water, cinnamon, ginger, and lemon juice in a medium saucepan.
- Bring to a boil, then reduce the heat and simmer on low for about 45 minutes until the liquid reduces by half.
- Turn off the heat and allow the elderberry mixture to cool slightly.
- Using a fine sieve or fine mesh strainer, pour the liquid into a clean bowl. Press the berries gently to extract all the elderberry juice. Make sure to discard the solids! NOTE: Never eat raw elderberries or unripe berries. They contain hydrocyanic acid, which isn’t safe in raw form.
- When the liquid is warm, stir in the cups of honey. Stir until fully combined.
- Pour into a sterilized glass jar or airtight container. Store in the fridge for up to 2 months.
- Take one tablespoon of elderberry syrup a day, or drizzle it over desserts, breakfast or to mix it into your favorite drink.
Notes
- Always cook raw berries! Never ever eat raw elderberries straight from the bush.
- Don’t add the honey while the mixture is too hot. Cooking honey at high heat destroys its natural enzymes.
- For a stronger elderberry recipe, simmer longer for a thicker, richer syrup.
- Keep your syrup in a cool place until opened, then refrigerate to extend the shelf life.
- The syrup keeps well at room temperature for short trips but should be chilled for long-term storage.
- If you're planning to travel, pour a little syrup into a smaller bottle to take with you. Leave the bulk of it at home in the fridge.
- If you’re worried about health concerns, consult your doctor. Especially for kids under one year of age (because of honey).