Valentine’s Heart Shaped Cookies – Easy Cookie Recipe
Valentine’s Day is just around the corner, and whether you’re planning a special dinner, a cozy night in with your little ones, or a treat to send with your partner to work, Valentine’s heart-shaped cookies are a simple and delicious way to show some love.
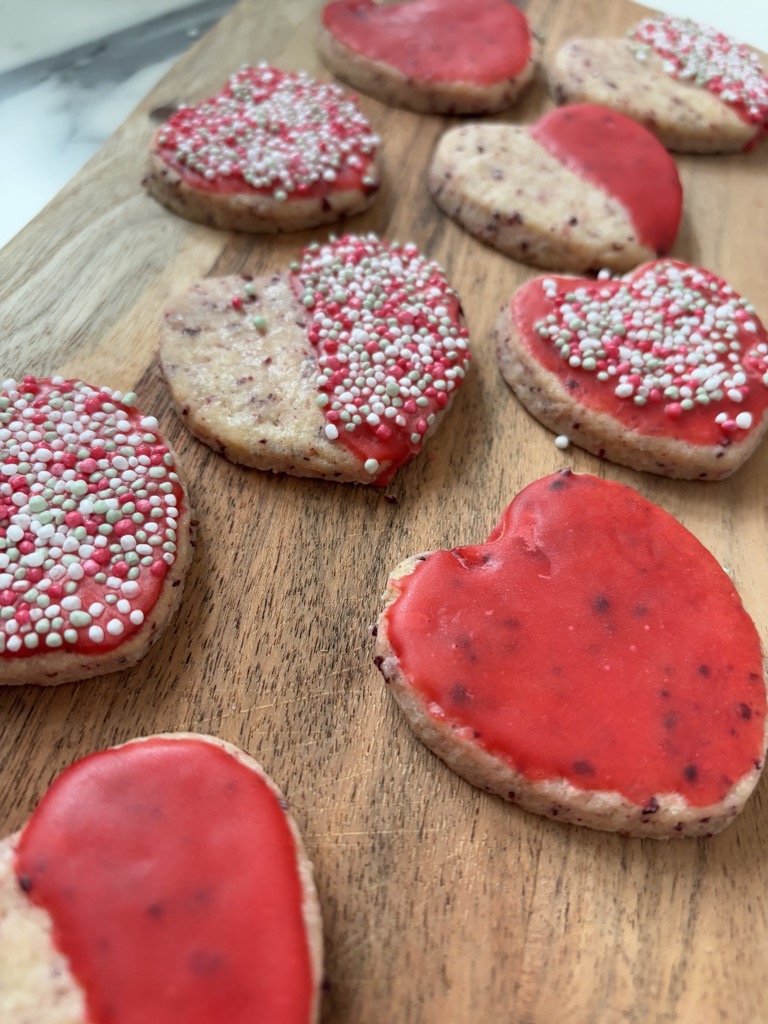
There’s something so comforting about the combination of butter cookies and lemon icing—it’s the ultimate nostalgic baking experience, especially when you get to share it with the people you love most.
If you’re anything like me, baking has a way of making life feel a little more special. Valentine’s Day is no exception. These cute heart shape cookies are easy to make, fun to decorate, and even better to share!
And while store-bought treats are fine, there’s something so personal and thoughtful about homemade goodies, especially when they come from the heart. And with kids running around, having a baking project that doubles as an activity is a win-win in my books.
For those of you with little hands eager to help, these fun cookies offer a perfect opportunity to get the kids involved in the kitchen. They’ll love cutting out the shapes, sprinkling on the icing, and adding those little extra touches of love with festive sprinkles.

It’s one of these easy recipes that are a great way to create memories while making something delicious. So, if you’re looking for a fun way to spread the love this Valentine’s Day, these cutout cookies are the way to go.
And if you don’t have a heart shape cookie cutter – don’t worry, I’ve got you covered. There are plenty of ways to create beautiful Valentine cookies without one. Keep reading to learn more about how to make this classic treat your own!
What Can I Use If I Don’t Have a Heart-Shaped Cookie Cutter?
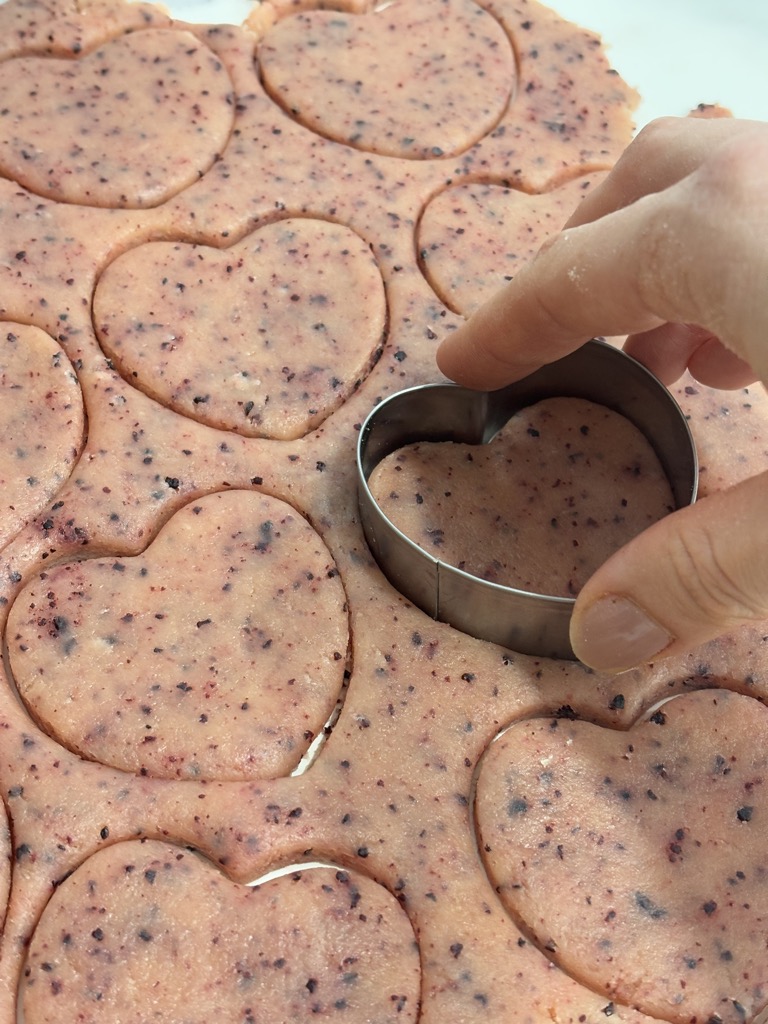
Not everyone has a heart cookie cutters sitting in their kitchen drawer, and that’s perfectly fine! You can still make beautiful Valentine’s heart-shaped cookies without one. If you don’t have the right cookie cutter shape, try one of these simple alternatives:
Freehand with a Knife: You can easily cut out heart shapes by using a sharp knife. Just draw a heart on paper, and cut around the outline.
Use a Cup or Round Object: For the round shape, use the rim of a glass or a cup. Gently press down to form the upper part of the heart, then use a knife to cut down the edges to form the tip.
What to Write on Valentine’s Cookies?
The fun part about decorating Valentine’s heart-shaped cookies is getting to personalize them! Whether you’re gifting them to a friend, partner, or simply enjoying them at home, writing sweet messages on your cookies adds that perfect touch. Here are a few ideas:
Love You: Simple and sweet. You can’t go wrong.
Be Mine: A classic phrase for Valentine’s Day.
XOXO: Perfect for spreading love and hugs.
Sweetheart: A perfect fit for heart-shaped cookies.
#1 Mom/Dad: For all the amazing parents out there.
BFF: Best friends forever, no matter what age.
You can use icing to write these messages on your cut-out cookies, or even edible markers if you’re looking for an easy way to get the words just right.
How Far in Advance Can You Make Decorated Sugar Cookies?
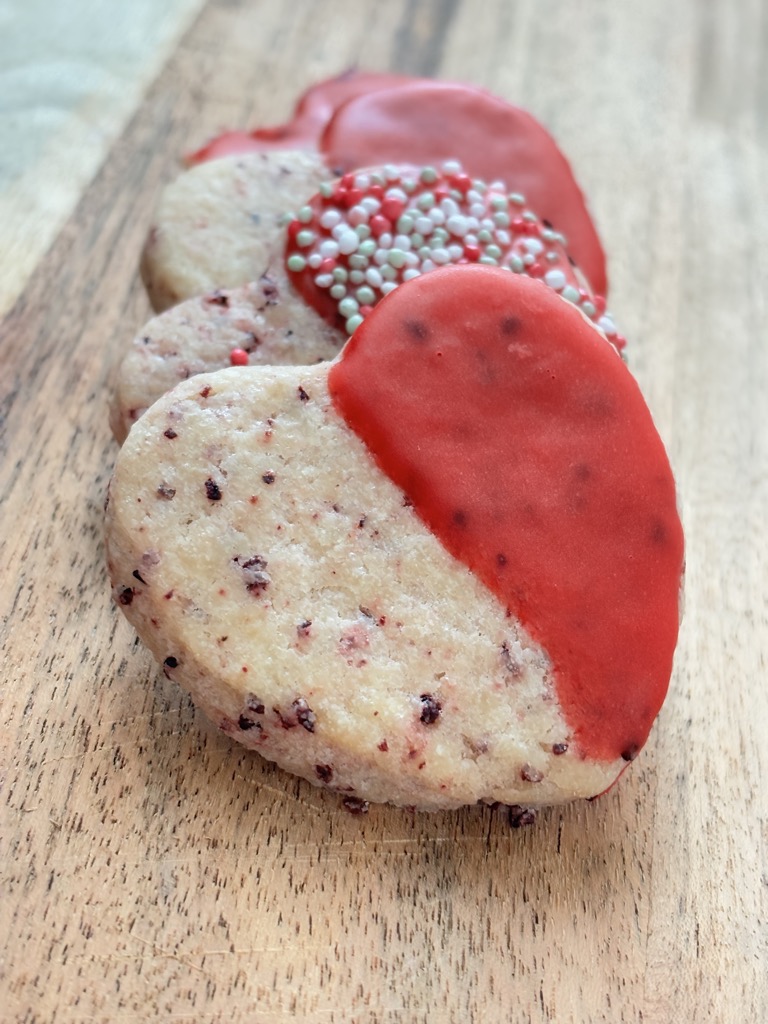
If you’re planning on baking ahead of time (because life gets busy, right?), you can absolutely make decorated cookies a few days in advance! The cookies themselves can be baked and stored in an airtight container for up to 5 days at room temperature. However, once you add the icing, I recommend giving them a little more time to set, and storing them in a single layer to avoid smudging. You can also freeze them before or after decorating! Just make sure to let them cool completely before wrapping them up tightly in plastic wrap, then placing them in a freezer-safe container.
Ingredients
Here’s what you’ll need for these delicious Valentine’s Day cookies:
For the Cookies:
Flour. An obvious ingredient in cookie recipes.
Sugar. Another obvious for sugar cookie dough. I use raw sugar, but white or brown sugar will do the trick.
Salt. A little goes a long way.
Butter. Use softened butter for best results.
Egg.
Red food colouring. This is where you can get creative. Use dried raspberry powder, strawberry powder or any other red fruit powder for a natural way to turn your cookies pink. Otherwise, a few drops of red food coloring will do the trick.
For the Red Icing:
Powdered sugar. Use powdered sugar to achieve the smooth icing texture.
Lemon juice. I prefer lemon juice, but a little bit of water will also do the trick.
Red food colouring. Same as above, this is where natural ingredients can make a big impact.
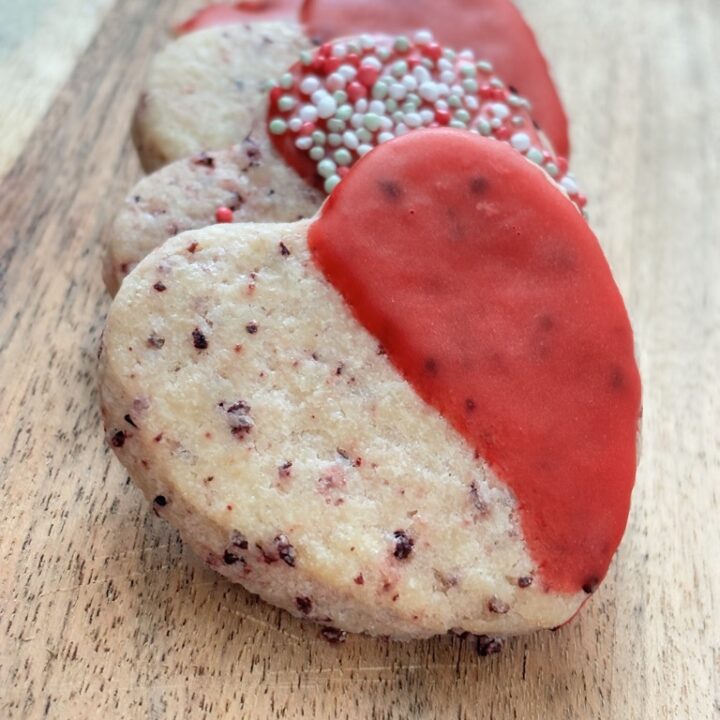
Sprinkles. Use red sprinkles (perfect to use up what’s left from baking Christmas cookies), or different colors like pink sprinkles or little white hearts.
How to Make Valentine’s Heart Shaped Cookies
Make the Dough: In a large bowl of a stand mixer, whisk together all dough ingredients on low speed. Use the paddle attachment for this step. Mix until they form a smooth dough. Add your food colouring of choice and mix until your dough is evenly coloured.
Chill the Dough: Wrap the dough in plastic wrap, and chill in the refrigerator for at least 30 minutes. This chill time helps the dough hold its shape when you cut it out.
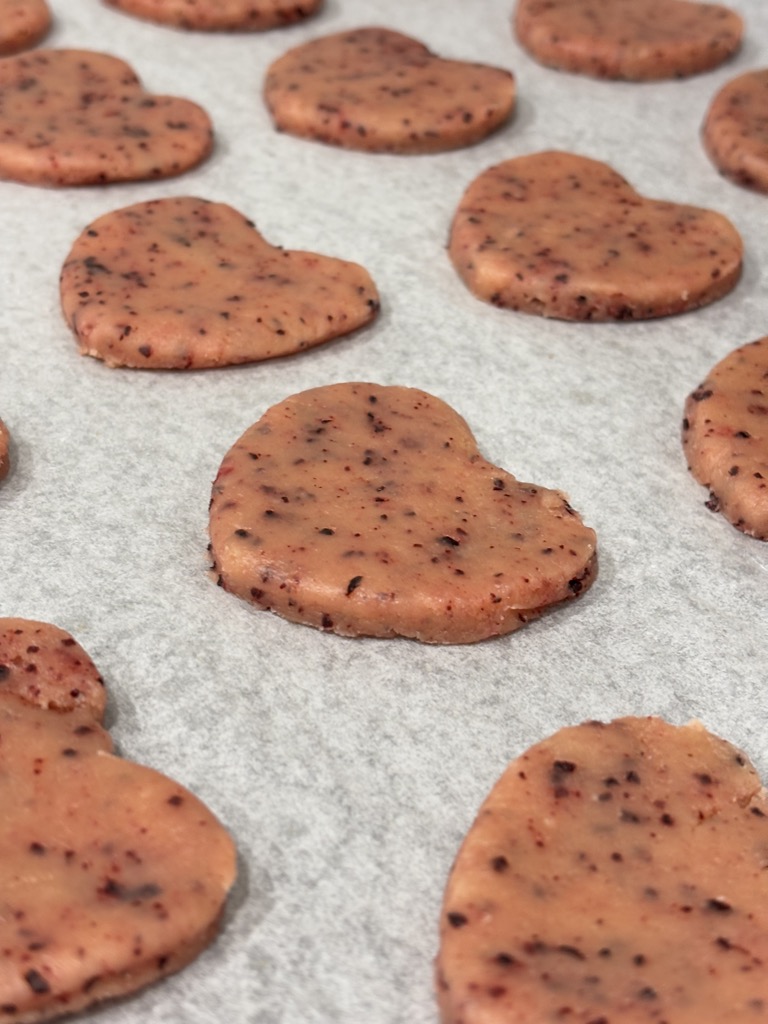
Roll Out and Cut: Preheat your oven to 350°F (175°C). On a lightly floured surface, roll out the dough to about 1/4-inch thickness using a rolling pin. Cut out heart shapes with your cookie cutter or freehand it. Place the cookies on a baking sheet lined with sheets of parchment paper.
Bake: Bake the cookies for 10-12 minutes, or until the edges just begin to turn golden brown. Let the cookies cool completely on a wire rack before decorating.
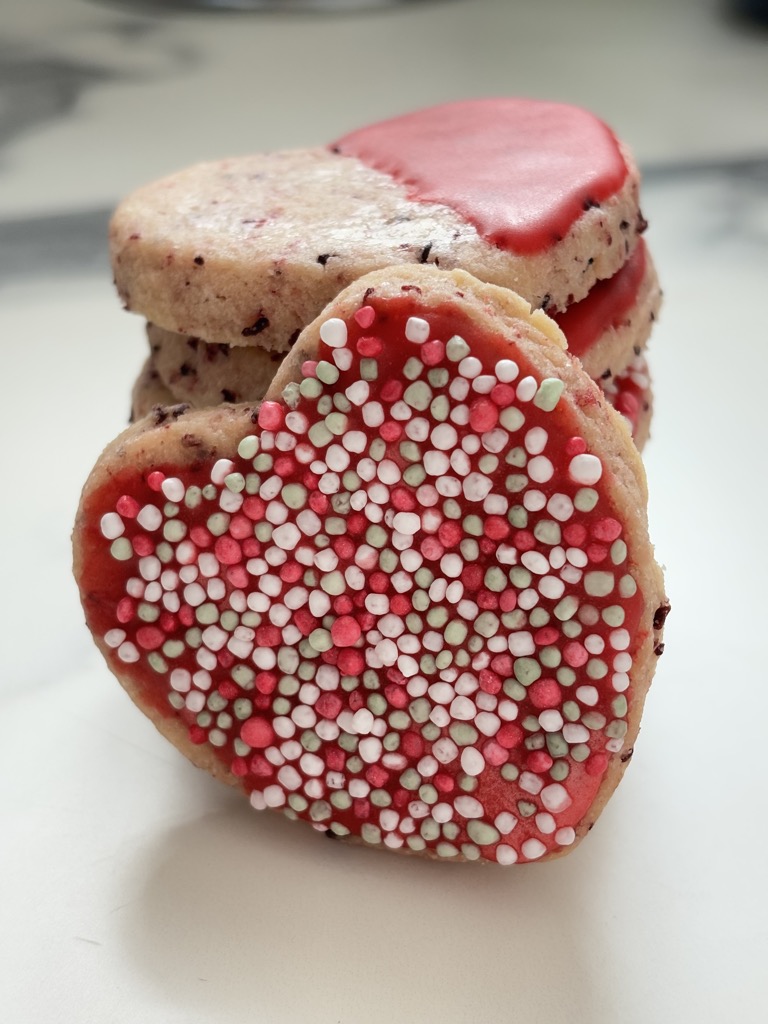
Decorate: Once the cookies are cool, mix up your icing. Use a teaspoon or piping bag to cover the cookies in icing. If you want to write messages, let the first layer dry before adding details with a different color of icing or edible markers. If you want to add sprinkles, add these on the wet icing. Then allow everything to fully dry.
Why You’ll Love This Recipe
These Valentine’s heart shaped cookies are buttery, soft, and totally customizable. You’ll love how easy they are to make, and your family will adore the little personal touches you can add with the decorations. Whether you’re crafting intricate designs or just adding a sprinkle of love, each cookie will taste like a little bit of Valentine’s magic. Serve these delicious treats with a warming cup of chai latte, a steaming cup of herbal tea, or a deliciously refreshing chocolate iced coffee.
Tips and Tricks
Chill Your Dough: Don’t skip chilling the dough—it makes it so much easier to roll out and ensures the cookies hold their shape while baking.
Use Piping Bags: For smoother icing and more precise designs, piping bags are your best friend. Even if you don’t have a professional set, a plastic sandwich bag with the tip cut off works just fine.
Let the Icing Dry Completely: Patience is key when decorating. Let your icing dry completely between layers to avoid smudging. If you’re in hot and/or humid climate, placing your cookies in the fridge to dry will do the trick.

Easy Substitutes
Butter Substitute: You can swap out the butter for margarine or a dairy-free butter if you need a dairy-free option.
Egg-Free Version: Use a flax egg (1 tablespoon ground flax + 2.5 tablespoons water) in place of the egg to make these cookies egg-free.
Different Flavors: Feel free to experiment with other extracts like vanilla extract or almond extract to give your cookies a twist!
Valentine's Heart Shaped Cookies
A fun way to spread the love this Valentine’s Day.
Ingredients
- For the Cookies:
- 250g Flour
- 100g Sugar
- 125g Butter, softened
- 1 Egg
- 1 pinch of Salt
- Red Food Colouring
- For the Icing:
- 1 Tsp Lemon Juice
- 50g Powdered Sugar
- Red Food Colouring
Instructions
- Make the Dough: In a large bowl of a stand mixer, whisk together all dough ingredients on low speed. Use the paddle attachment for this step. Mix until they form a smooth dough. Add your food colouring of choice and mix until your dough is evenly coloured.
- Chill the Dough: Wrap the dough in plastic wrap, and chill in the refrigerator for at least 30 minutes. This chill time helps the dough hold its shape when you cut it out.
- Roll Out and Cut: Preheat your oven to 350°F (175°C). On a lightly floured surface, roll out the dough to about 1/4-inch thickness using a rolling pin. Cut out heart shapes with your cookie cutter or freehand it. Place the cookies on a baking sheet lined with sheets of parchment paper.
- Bake: Bake the cookies for 10-12 minutes, or until the edges just begin to turn golden brown. Let the cookies cool completely on a wire rack before decorating.
- Decorate: Once the cookies are cool, mix up your icing. Use a teaspoon or piping bag to cover the cookies in icing. If you want to write messages, let the first layer dry before adding details with a different color of icing or edible markers. If you want to add sprinkles, add these on the wet icing. Then allow everything to fully dry.
Notes
Chill Your Dough: Don’t skip chilling the dough—it makes it so much easier to roll out and ensures the cookies hold their shape while baking.
Use Piping Bags: For smoother icing and more precise designs, piping bags are your best friend. Even if you don’t have a professional set, a plastic sandwich bag with the tip cut off works just fine.
Let the Icing Dry Completely: Patience is key when decorating. Let your icing dry completely between layers to avoid smudging. If you're in hot and/or humid climate, placing your cookies in the fridge to dry will do the trick.

