Dairy free Sugar free Ice Cream with Raspberries
There’s nothing quite like diving into a bowl of creamy ice cream, especially on a warm day or when you need a little treat. But if you’re on a dairy-free or sugar-free journey, or have a dodgy tummy like myself, finding an ice cream that actually tastes good can feel like searching for a needle in a haystack. Trust me, I’ve been there! That’s why I wanted to share my favorite recipe for a homemade, dairy-free, sugar-free ice cream that’s every bit as delicious as the traditional stuff. This recipe is simple, wholesome, and just the right amount of sweet without any refined sugar or dairy in sight.
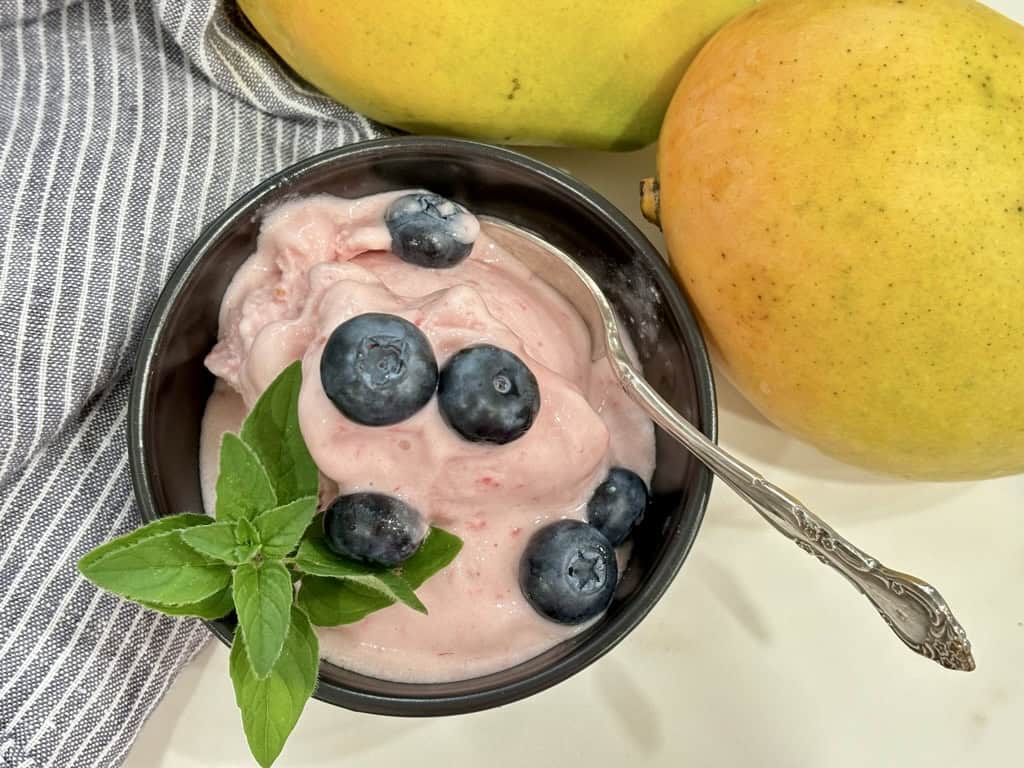
For us mums juggling dietary preferences, allergies and health issues, having go-to treats that don’t feel like compromises is such a game-changer! I love knowing I can whip up a dessert that everyone can enjoy without worrying about intolerances or extra sugar overload. Plus, there’s something so satisfying about making ice cream at home—it feels special and almost magical!
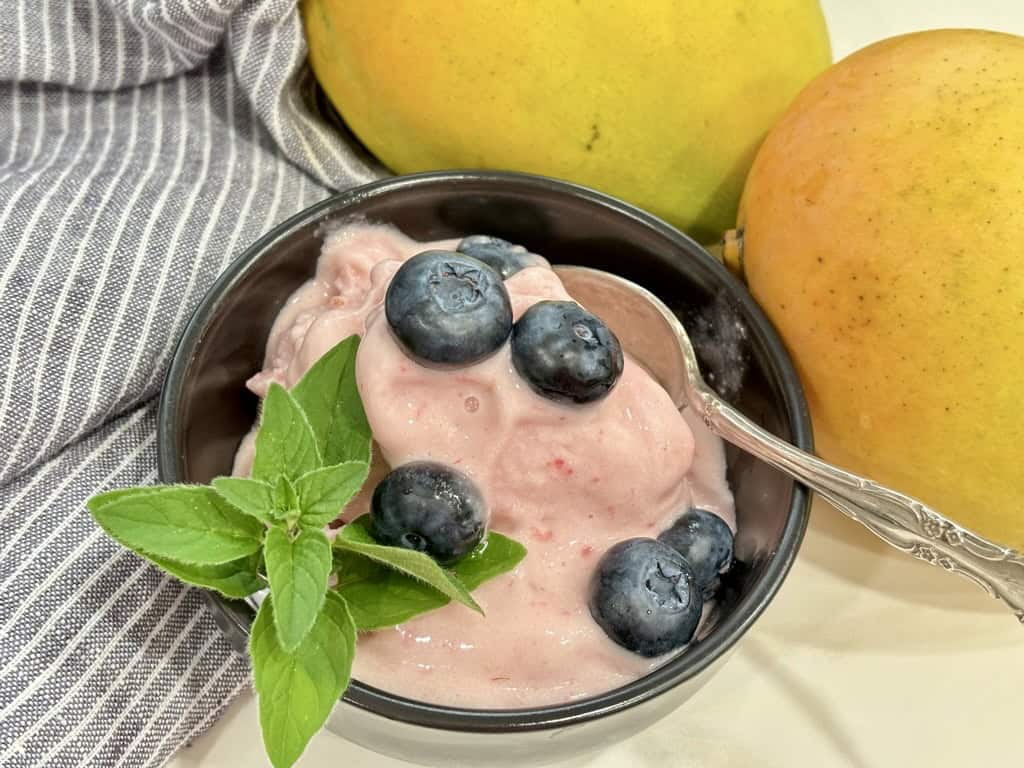
I have published a number of allergen free recipes like my waffle recipe without milk, gluten free pancakes or plant based zucchini muffins. This recipe is also incredibly versatile. You can keep it basic, letting the natural flavors shine, or mix in your favorite add-ins like chunks of dark chocolate, fresh berries like I have done in this recipe, or chopped nuts. Each time you make it, you can tweak the flavors to suit your mood or seasonal cravings. And since it’s homemade, you get to control everything that goes into it. So if you’re a label-checker like me, or want to lower your kids’ sugar intake (also me), you’ll love the peace of mind that comes with knowing exactly what’s in your treat.
So, let’s dive into this dreamy, guilt-free ice cream recipe that’s easy to make, kid-approved, and made from real, wholesome ingredients. Whether you’re making it for yourself or with your little ones, I guarantee it’ll be a hit!
Ingredients
Coconut milk. Use organic coconutmilk if possible. I always opt for full fat coconut milk, because at the end of the day we’re talking about coconut milk ice cream, and ice cream needs fat. While higher fat content is great, we’ll stay away from coconut cream for this recipe.
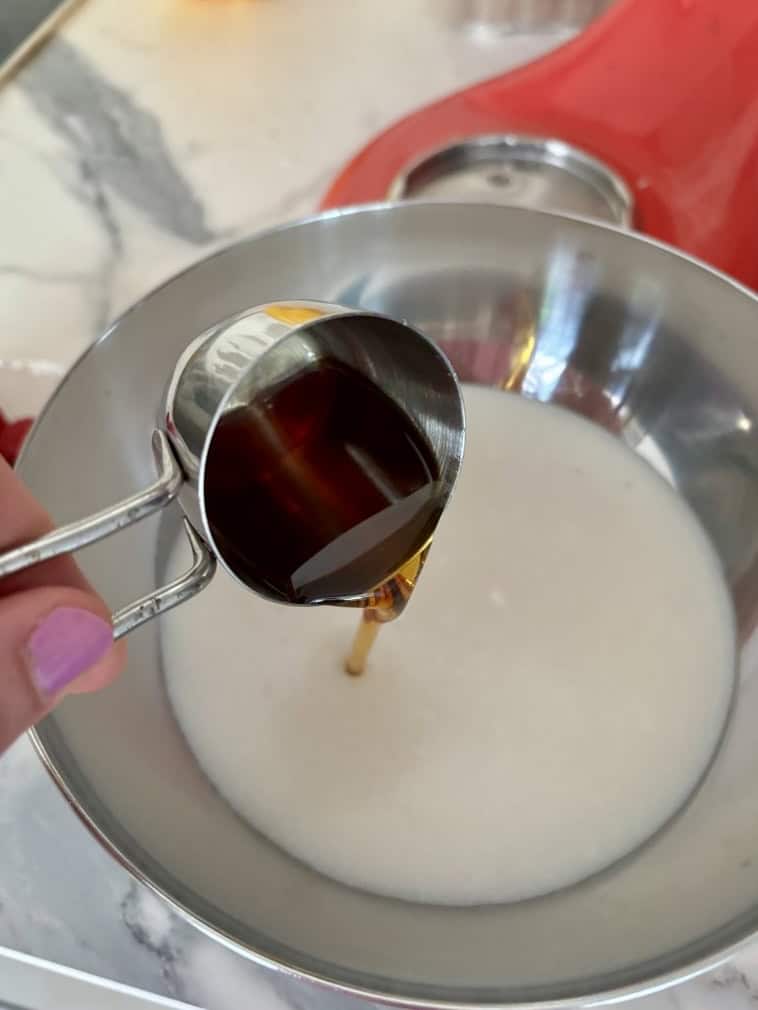
Maple syrup. Maple syrup is one of my favourite sugar substitutes. It dissolves far better than powdered sugar and seems to always create the best results. If you don’t want your added sugar to be maple, you could also try agave nectar or honey.
Vanilla extract. I prefer vanilla extract in my kitchen, simply because it’s easy to store in bulk and fairly inexpensive compared vanilla beans. Whichever option you choose will create the classic vanilla flavor, so use whatever you have on hand.
Sea salt or regular table salt.
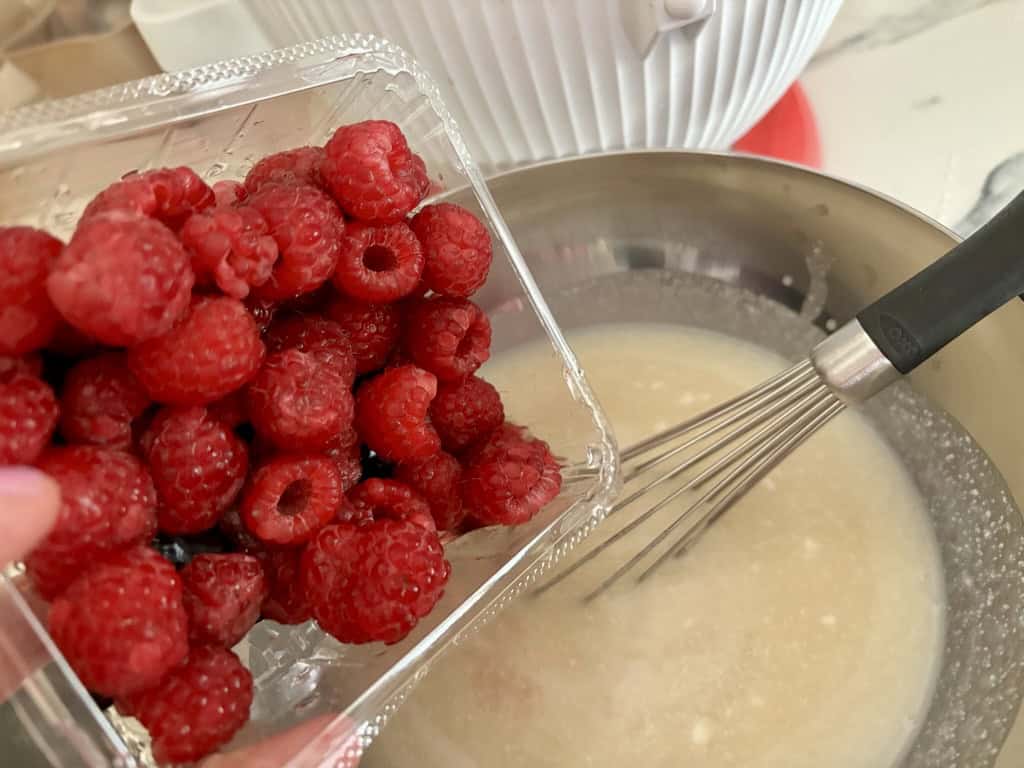
Raspberries. Use a punnet of fresh raspberries to create this delicious dairy free sugar free ice cream. If you’re not a fan of raspberries or they’re simply not in season, substitute for other whole fruit. You could also add another favorite flavor like peanut butter, chocolate chips or cookie dough.
How to Make Dairy-Free, Sugar-Free Ice Cream
Prepare your ingredients and machine. Make sure to shake your coconut milk well before opening the can. Similar to heavy cream, coconut milk can sometimes separate and have a thick layer or creamy texture on top. This can make pouring a little tricky. Attach your ice cream bowl to your stand mixer, or place your ice cream maker on your kitchen bench.
Combine your ingredients. In a large mixing bowl, whisk together the coconut milk, maple syrup, vanilla extract, salt and washed raspberries. Beat the mixture with a handheld whisk or fork to slightly smush the raspberries and bring everything together. This doesn’t need to be perfectly smooth, just good enough to call it one mixture.
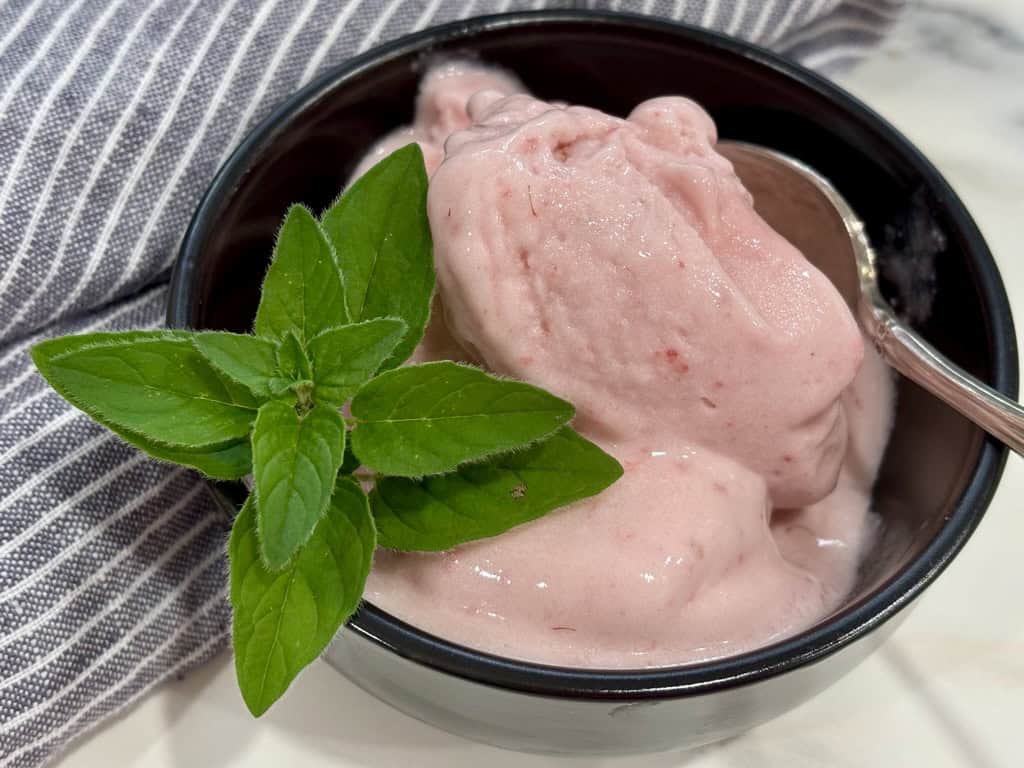
Churn the ice cream. To turn our mixture into dairy free sugar free ice cream, follow the ice cream maker manufacturer’s instructions. In my case, the machine needs to start running before I can pour my mixture into the ice cream machine. Double check your machine’s instructions to ensure you’re following the correct process. Churn the ice cream until ready. This usually takes between 20 and 30 minutes. Your homemade ice cream will likely have a soft serve consistency when finished.
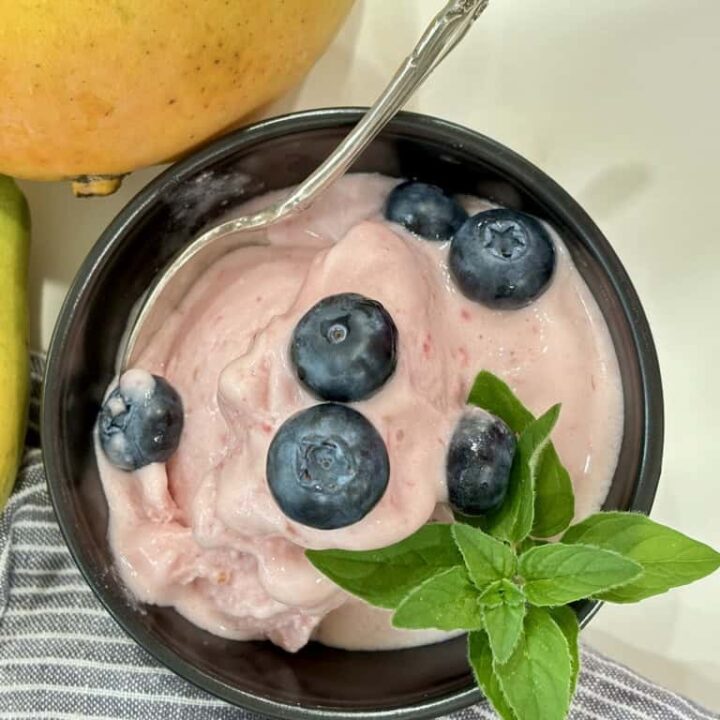
Serve and enjoy. Once ready, portion your vegan ice cream into small bowls. Top each with a little more fruit or your favourite syrup, or simply enjoy each scoop as is.
Store. Store any leftovers in an airtight container in your freezer and make sure to eat it within the next few weeks.
Why You’ll Love This Recipe
Easy to make. I love recipes that are easy to make and serve the whole family. And while regular ice cream is easy and delicious, this dairy free sugar free ice cream is not only a crowd pleaser, but also free from allergens.
Naturally sweetened. You can easily turn this recipe into a zero sugar version. I love use a natural, liquid sweetener like maple syrup or honey over brown sugar. Choose whatever fits best into your daily diet regime.
Allergen free. Without egg yolk or egg whites, dairy or artificial sweeteners, this recipe is as clean as it comes.
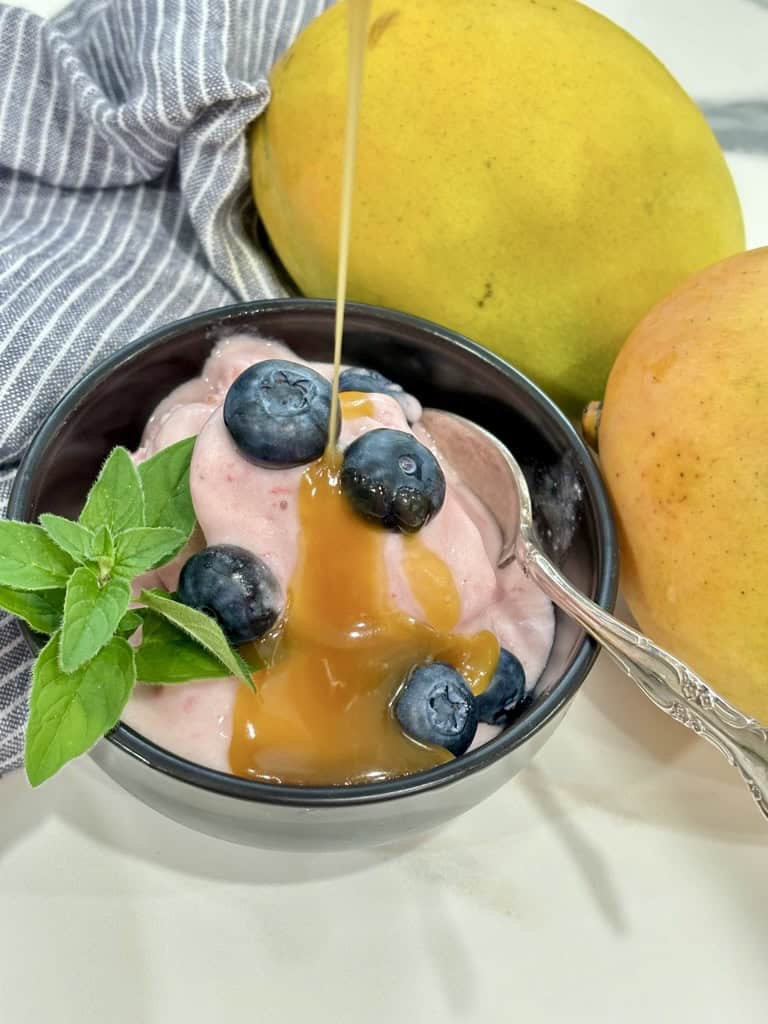
Customisable. Switch up your fruit additions as the seasons change. I love to use berries in summer, but revert to something more hearty like caramel sauce or chocolate chips in the colder months.
Tips and Tricks
• Blend Thoroughly: For the creamiest texture, use a high-speed blender to mix everything well before churning. Full-fat coconut milk often separates in the can. Putting it through a high speed blender helps to bring it together easily.
• Freeze in Shallow Containers: If you’re skipping the ice cream maker, a shallow container helps the mixture freeze faster, preventing large ice crystals.
• Soften Before Serving: After freezing, let the ice cream sit at room temperature for a few minutes before scooping. It’ll make for a smoother, creamier texture. You can also dip your ice cream scoop into hot water before each scoop. That’s what ice cream shops usually do and what makes their job look so easy.
• Add Mix-ins Last Minute: If using an ice cream maker, add chunky mix-ins like chocolate or hard fruit only during the last few minutes of churning to keep them evenly distributed.
Other sweet treats to try
Easy Substitutes
• Sweetener: Swap out maple syrup for agave nectar honey or monk fruit extract sweetener if you prefer a sugar-free alternative.
• Vanilla: Want a twist? Try almond extract or even a touch of peppermint for a unique flavor.
Frequently Asked Questions
Does dairy free ice cream have sugar?
Whether or not dairy free ice cream has sugar will ultimately depend on the recipe that is used. Commercially bought dairy-free products often use cheap ingredients and regularly use sugar as their sweetener of choice. Organic products have a higher chance of excluding sugar and relying more on honey or maple syrup as their sweetener of choice. At the end of the day, the best dairy-free ice creams without sugar are those you make yourself at home. My dairy free sugar free ice cream recipe will help you create the creamiest ice cream with the most delicious flavours. Give it a try and share a picture of your creation in the comments.
Is there ice cream without sugar?
Yes, there absolutely is ice cream without sugar. While it can often be tricky to find these products in your average supermarket, specialty health stores store an increasing amount of sugar free and allergen free options. The best option however is to make your own sugar free ice cream at home. With a few simple ingredients and natural sweetener of your choice (maple syrup, honey or agave nectar will all work) you can create a delicious, sugar free dessert in minutes.

What is unhealthy in sugar free ice cream?
Just like with any recipe or food item, the ingredients and preparation methods dictate how healthy or unhealthy the food is. My recipe for dairy free sugar free ice cream below is put together with a few simple, healthy ingredients and is overall pretty healthy. If you were to compare this to a low quality commercially bought ice cream brand, you would likely find that the commercial product contains a lot of foreign sounding ingredients (commonly listed as single letters and triple digits).If you are concerned about sugar free ice cream being unhealthy, give my recipe a try ands for yourself how quick and easy it is to create a delicious, healthy dessert.
How long does homemade ice cream keep in the freezer?
Homemade ice cream is best within a week for the creamiest texture, but it can last up to a month in the freezer. Just let it sit out for 10–15 minutes before serving to allow the natural ingredients to soften a little. You can also use an ice cream scoop that has been dipped in hot water to help with serving.
Dairy free Sugar free Ice Cream with Raspberries
Easy to make, kid-approved, and made from real, wholesome ingredients.
Ingredients
- 1 can coconut milk (400ml)
- 1/4 cup maple syrup
- 1 tsp vanilla extract
- 1 pinch sea salt
- 1 punnet raspberries
Instructions
- Prepare your ingredients and machine. Make sure to shake your coconut milk well before opening the can. Similar to heavy cream, coconut milk can sometimes separate and have a thick layer or creamy texture on top, which can make pouring a little tricky. Attach your ice cream bowl to your stand mixer, or place your ice cream maker on your kitchen bench.
- Combine your ingredients. In a large mixing bowl, whisk together the coconut milk, maple syrup, vanilla extract, salt and washed raspberries. Beat the mixture with a handheld whisk or fork to slightly smush the raspberries and bring everything together. This doesn't need to be perfectly smooth, just good enough to call it one mixture.
- Churn the ice cream. To turn our mixture into dairy free sugar free ice cream, follow the ice cream maker manufacturer's instructions. In my case, the machine needs to start running before I can pour my mixture into the ice cream machine. Double check your machine's instructions to ensure you're following the correct process.
- Churn the ice cream until ready. This usually takes between 20 and 30 minutes. Your homemade ice cream will likely have a soft serve consistency when finished.
- Serve and enjoy. Once ready, portion your vegan ice cream into small bowls. Top each with a little more fruit or your favourite syrup, or simply enjoy each scoop as is.
Store. Store any leftovers in an airtight container in your freezer and make sure to eat it within the next few weeks.
Notes
- Blend Thoroughly: For the creamiest texture, use a high-speed blender to mix everything well before churning. Full-fat coconut milk often separates in the can, and putting it through a high speed blender helps to bring it together easily.
- Freeze in Shallow Containers: If you’re skipping the ice cream maker, a shallow container helps the mixture freeze faster, preventing large ice crystals.
- Soften Before Serving: After freezing, let the ice cream sit at room temperature for a few minutes before scooping—it’ll make for a smoother, creamier texture. You can also dip your ice cream scoop into hot water before each scoop. That's what ice cream shops usually do and what makes their job look so easy.
- Add Mix-ins Last Minute: If using an ice cream maker, add chunky mix-ins like chocolate or hard fruit only during the last few minutes of churning to keep them evenly distributed.
