Sourdough discard carrot cake without frosting
Carrot cake is an absolute must in Australia and this sourdough discard carrot cake without frosting brings a little slice of heaven without the heavy cream on top.
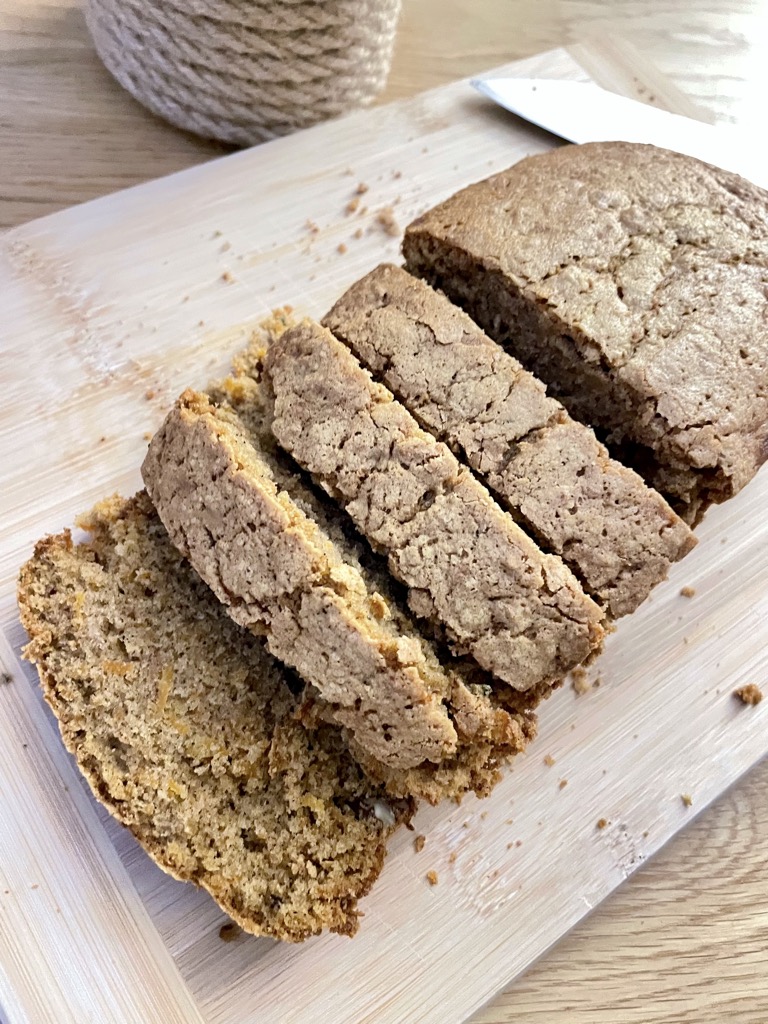
If you have visited my blog before, you know that I always try and hide a few extra nutrients in my family’s food. I frequently take a few veggies and blend them into meals, or swap parts of all purpose flour to something more nutrient dense, like rye or spelt. This sourdough discard carrot cake recipe takes the delicious base of a banana bread and hides a few extra delights without taking anything away from the yummy cake experience.
As with many other young kids, my little ones have been going through very fussy phases. My older one used to be an excellent eater in her younger years. She would try anything and everything we would serve her, to the point where I would have to surrender my curry dishes to her. I thought I had cracked the code. Sadly, this phase didn’t last. We went from curry to plain rice, from berry porridge to plain pasta and skipped the burgers in favour for chips. My little one followed suit and copied her big sister, like any good younger sibling would. It was infuriating!
Thankfully, after years of frustration, we are slowly coming out of the extreme part of this phase. But there are still a lot of things my kids won’t eat. So what do you do if you run out of options? You hide food in cake. Similar to my sourdough oatmeal cookies that are pretty filling with their high oat content, this sourdough discard carrot cake recipe is sweet, but filling and so satisfying. A couple of slices will keep you and the little ones going for quite some time.
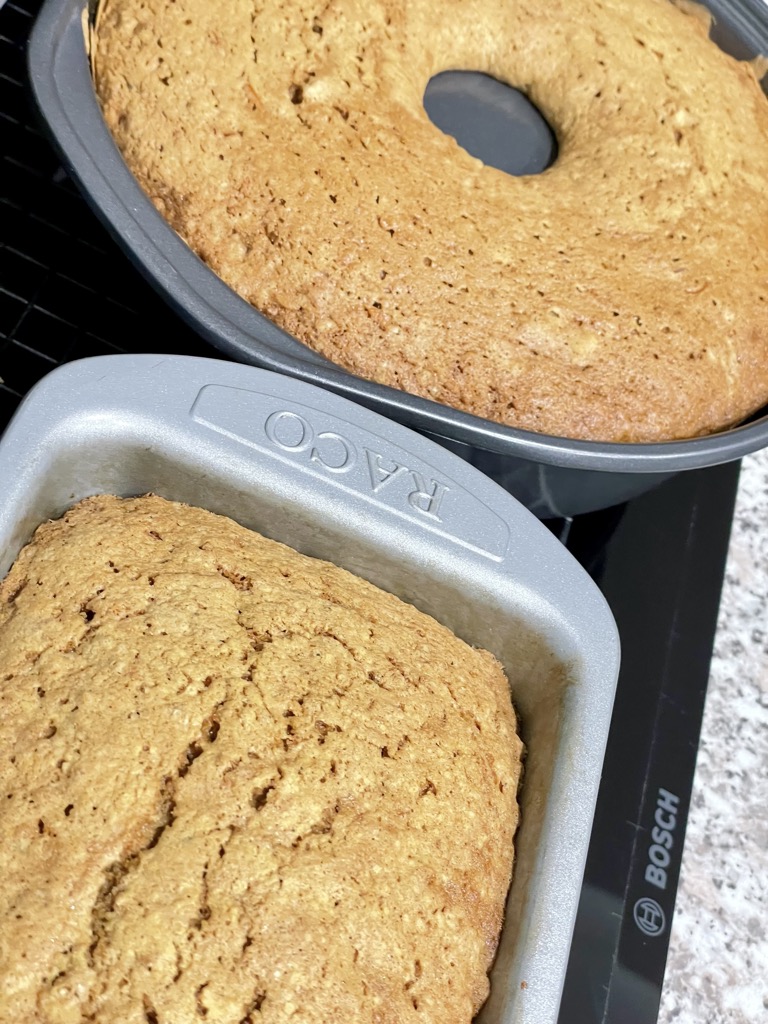
I love any recipe that can be made in bulk and stored in the freezer. This carrot cake is perfect to portion and store for later occasions. Being simple and delicious, it serves as an ideal option for a quick breakfast on the run, a lunchtime snack or a quick delight to enjoy with your afternoon coffee. And not to forget, it’s the perfect addition to your little ones’ lunch boxes.
So let’s get the family together to help whip up this sourdough discard carrot cake recipe. It’s a fun, hands on activity you will all enjoy. Let me know how you liked your creations in the comments.
Ingredients
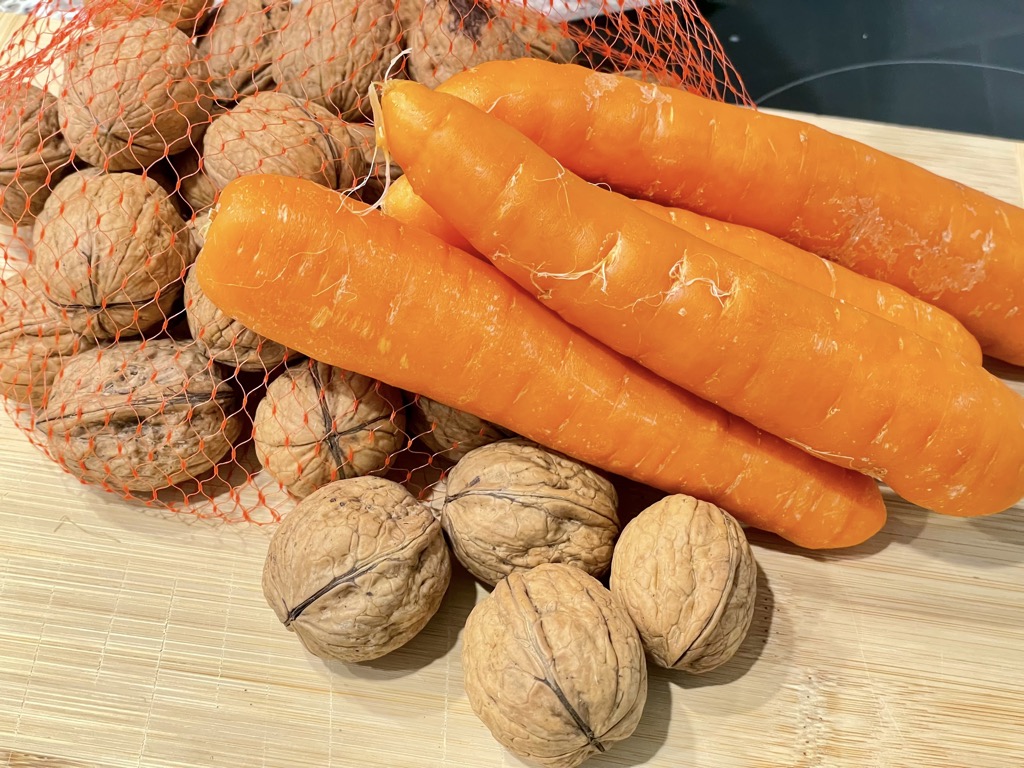
- Carrots
- Walnuts
- Butter
- All purpose flour
- Sugar
- Cinnamon
- Vanilla essence
- Salt
- Eggs
- Baking powder
- Baking soda
- Sourdough discard – that’s starter that’s gone past its bubbly peak
Tools you may need to make this sourdough discard carrot cake recipe
Stand mixer with whisk attachment
Two separate mixing bowls
Whisk
Two bread tins for baking
Wire rack for cooling
Kitchen scales
Grater or grater attachment for your stand mixer
Small pot or sauce pan to melt butter
Strainer or sieve to drain carrots of excess juice
Other cake recipes to try
If you enjoyed my Carrot Cake, why not try one of these sweet treats next:
- Lemon drizzle cake
- Earl Grey Honey Cake
- Sourdough Zucchini loaf
- Rustic Rhubarb Granola Bowl
- Warming Bratapfel Porridge
- Sourdough Oatmeal Choc Chip Cookies
- Almond Flour Shortcut Biscuits
- Mixed Berry Smoothie Bowl
Frequently asked questions
Why is my carrot cake too moist?
If your carrot cake is too moist you likely have too much moisture in your cake batter. This can be caused by either over-measuring any liquid ingredients or, more likely, forgetting to squeeze and excess liquid out of your shredded carrots. Carrots have a surprisingly high moisture content and often produce juice just by grating them. Give your carrots an extra squeeze next time you bake, to ensure most moisture is drained from them before adding them to your dough.
Is carrot cake better with pecans or walnuts?
I have to be honest here, I don’t get the pecan hype. While I enjoy eating a variety of nuts, using walnuts in baking is so much easier and cost effective than using a more rare, pricey ingredient like pecans. Walnuts give your carrot cake a very homely, rustic flavour and I love the nostalgia that comes with it. Pecans just don’t have the same effect on me.
How long does carrot cake stay fresh?
Depending on the temperature of your home, carrot cake can stay fresh on the counter for up to three days. I live in warm and humid climate and usually keep my food in the fridge, also for up to three days.
How to store carrot cake without frosting?
I would always recommend to store your carrot cake in an airtight container. You can leave it on the kitchen bench, but I prefer to store it in the fridge to prevent the cake from going stale or growing mould. Personally, I like to freeze most of my carrot cake and only leave out what will be eaten in the next day or so. This saves me from accidental waste and keeps my food available in single portions for when I need it.
Can I freeze carrot cake without icing?
Yes, you can absolutely freeze carrot cake without icing. Similar to banana bread, carrot cake is best frozen in individual slices, which you can then toast or re-heat under the grill. Spread a little butter over your hot slice and voila.
How fine should carrots be grated for carrot cake?
How fine you want your carrots grated will likely depend on the preferences of you and your loved ones. While some people enjoy a few stringy bits and crunch, others want everything to be blended into one smooth dough. For me and my family, I usually grate my carrots on a fine setting, to incorporate all ingredients and hide them in my baked goods.
How to make my sourdough discard carrot cake without frosting from scratch
Preheat your oven to 160 degrees Celsius or 325 degrees Fahrenheit. While this is heating up, prepare two bread tins or tins of similar size. Rub them out with butter or if easier, lay them out with some parchment paper.
Next, lay out your ingredients. Bonus points for pre-measuring everything into small cups.
Take a small pot or sauce pan and melt your butter on medium heat. Start with this step to allow your butter to cook before using it. If you are in a rush, you may want to place your hot butter pot into an ice bath or cold water to cool down faster.
While the butter is melting, attach your grater attachment onto your stand mixer or place a free standing grater over a bowl. Grate your carrots into fine strips. I prefer to use the finest setting on my KitchenAid grater here, as my family doesn’t like any flakey bits on their bakes goods.
Carrot has a surprisingly high moisture content, which can make your bread soggy. Place your grated carrot in a strainer or sieve and squeeze as much moisture out of it as possible. You can do this by pushing the carrots down with a spoon, or by simply squeezing them with your hand.
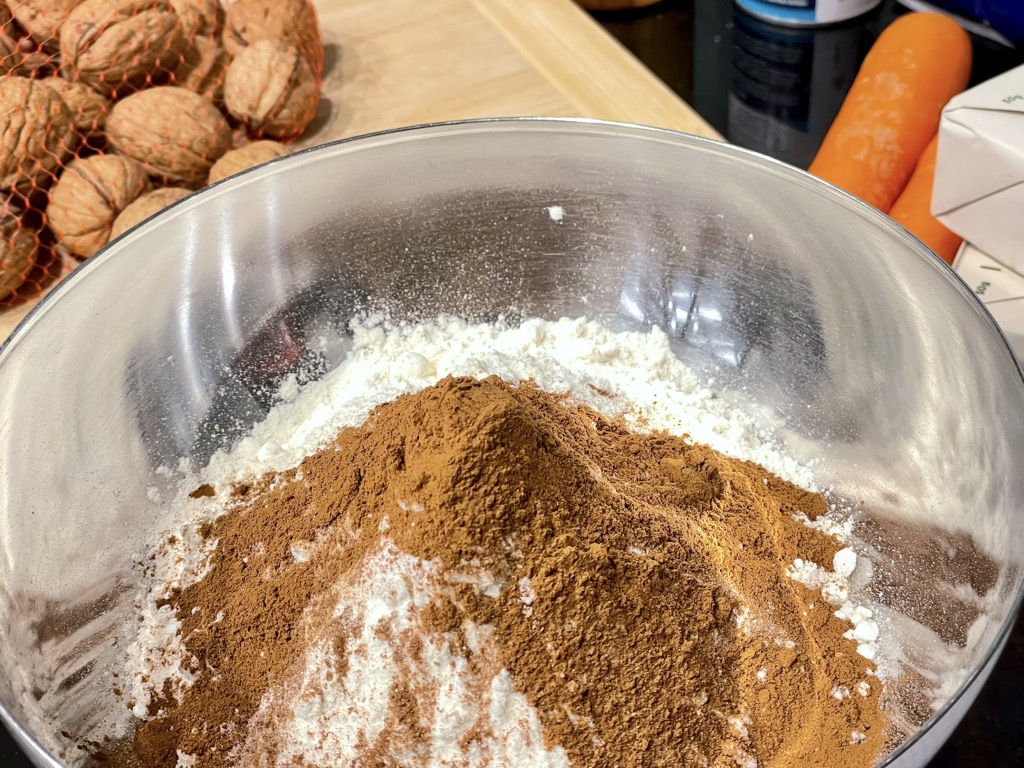
In a medium bowl, mix together your flour, baking powder, baking soda, cinnamon and salt. Mix until there are no clumps, then set aside.
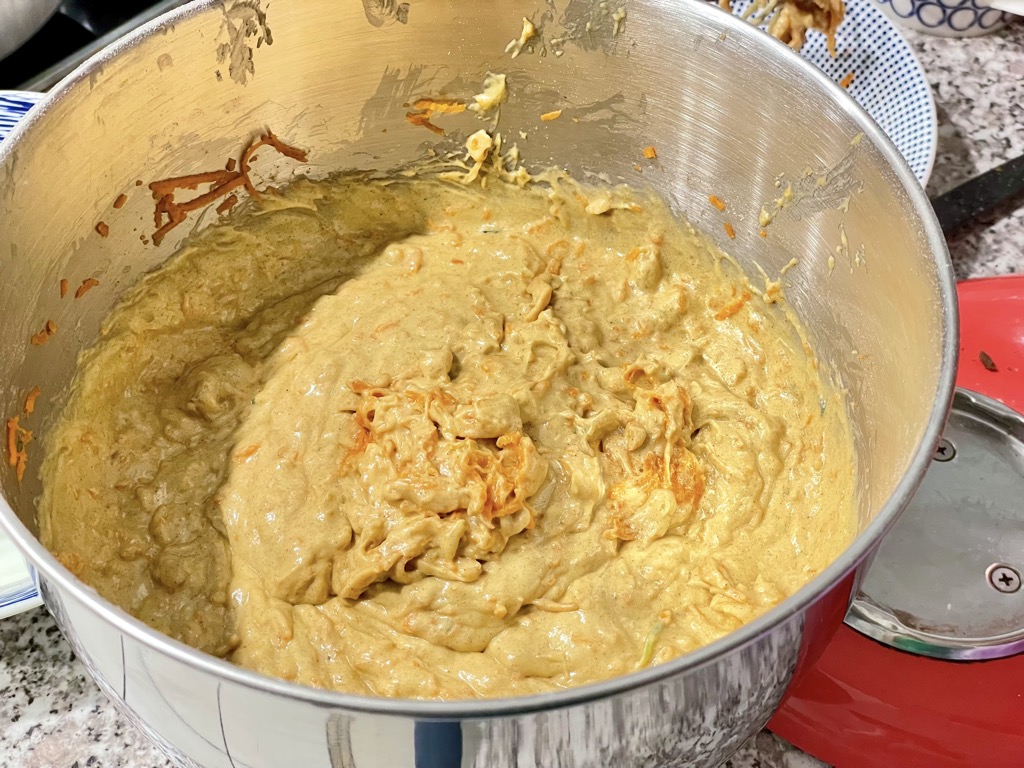
Attach a large bowl to your stand mixer and attach the whisk attachment. Add your eggs, sourdough discard, sugar and vanilla to the bowl and beat until well combined. Stop the mixer momentarily to scrape the edges of the bowl if your mixture is stuck to the edges. Once well combined, add your cooled butter and beat until the mixture is light and fluffy. I like to add my butter last to ensure the eggs are well incorporated and won’t run the risk of the butter “cooking” large clumps of it if too warm.
Turn your mixer to a low setting and slowly add the flour mixture. Mix until almost fully incorporated, then add your carrots and walnuts. Keep mixing until well combined and no clumps of carrots or walnuts remain.
Take your loaf tins and divide the dough evenly between them. Keep in mind that uneven distribution will cause the fuller one to take longer in the oven.
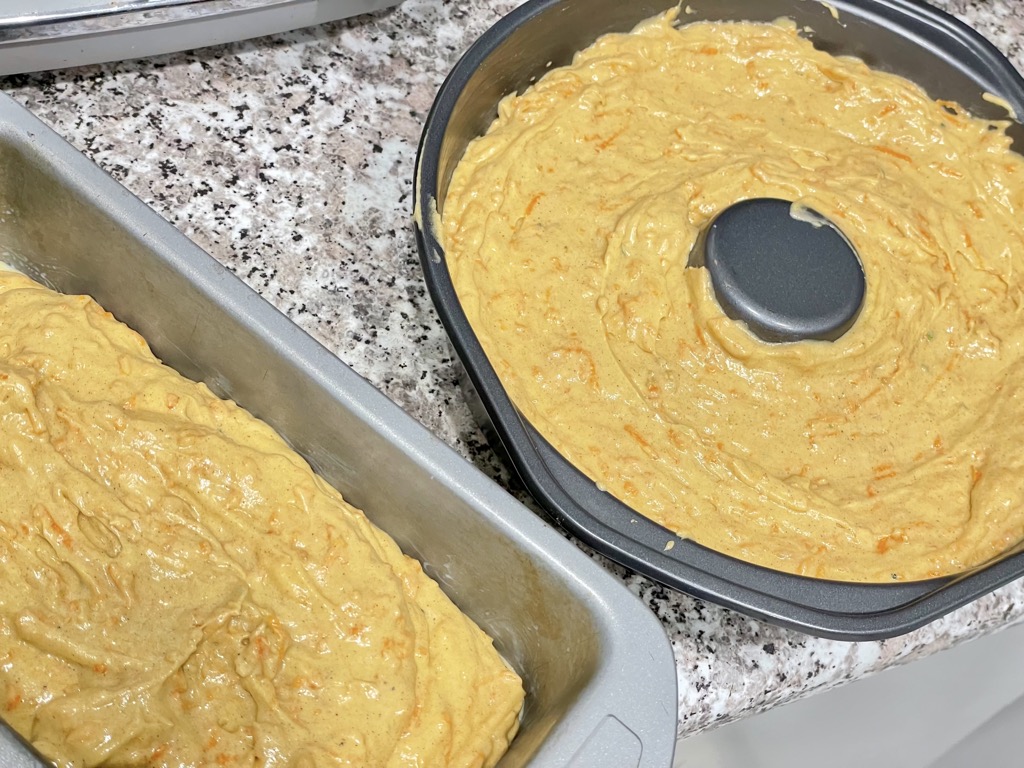
Place both tins in the oven and bake for 50 minutes. Test each loaf’s centre with a toothpick after 50 minutes to ensure your bread is fully baked. If parts of dough cling to your tooth pick, give the loaf another 10 minutes in the oven before repeating the process.
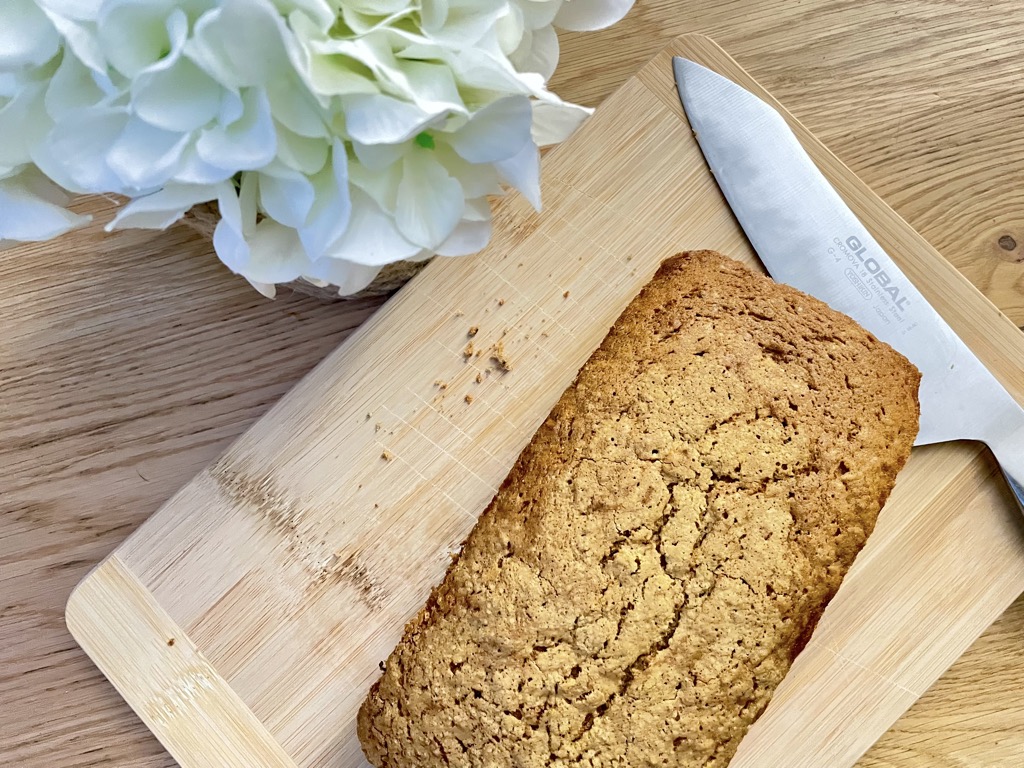
Once baked, take your loaf tins out of the oven and place them on a wire rack to cool. Allow your loaves to cool in their tin for at least 10 minutes before turning them over. Turning your loaves over while still hot will likely cause them to crumble and break apart. This can be avoided by allowing for some time to cool.
Follow the same guidance to cool before slicing your loaf. Once ready and baked, you can store the loaf as a whole or as individual slices for up to 3 days in an airtight container on the kitchen bench. The recipe is also great for freezing. I prefer to freeze individual slices and either thaw them in the toaster or under the grill for a quick and delicious breakfast. If you plan on taking them to work, simply grab a slice out of the freezer before heading out and allow the outside temperature to do the thawing for you. If your workplace has a toaster, you can always heat it up there.
Tip: Add cream cheese frosting for a delicious topping. Similar to banana bread, my sourdough discard carrot cake can be served by itself. Some of you might be after a little extra creaminess, and a cream cheese frosting might be just the right addition to this.
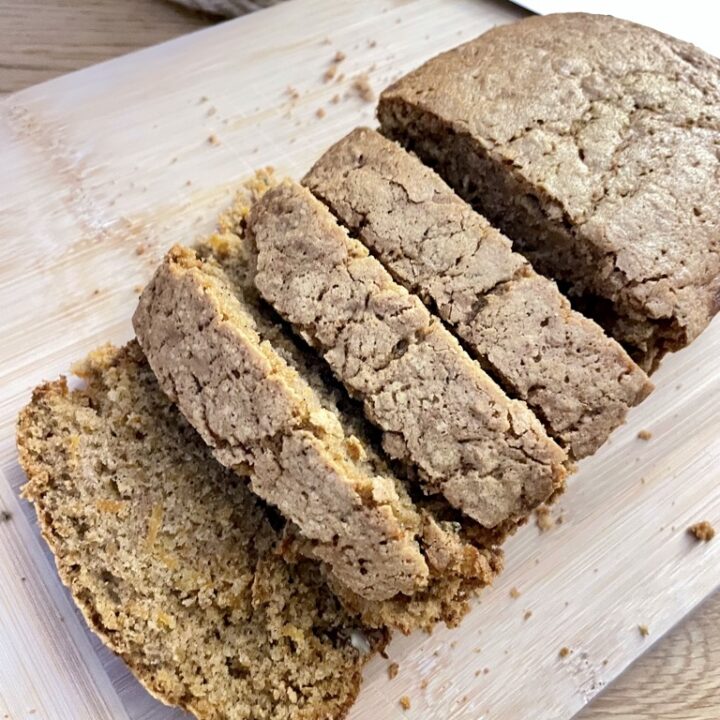
Sourdough discard carrot cake without frosting
This sourdough discard carrot cake without frosting brings a little slice of heaven without the heavy cream on top.
Ingredients
- 300g Carrots, grated
- 70g Walnuts, chopped
- 150g Butter
- 350g All purpose flour
- 400g Sugar
- 3 Tsp Cinnamon
- 1 Tsp Vanilla essence
- 1 Tsp Salt
- 3 Eggs
- 1/4 Tsp Baking powder
- 1 Tsp Baking soda
- 120g Sourdough discard
Instructions
- Preheat your oven to 160 degrees Celsius or 325 degrees Fahrenheit. While this is heating up, prepare two bread tins or tins of similar size. Rub them out with butter or if easier, lay them out with some parchment paper.
- Next, lay out your ingredients. Bonus points for pre-measuring everything into small cups.
- Take a small pot or sauce pan and melt your butter on medium heat. Start with this step to allow your butter to cook before using it. If you are in a rush, you may want to place your hot butter pot into an ice bath or cold water to cool down faster.
- While the butter is melting, attach your grater attachment onto your stand mixer or place a free standing grater over a bowl. Grate your carrots into fine strips. I prefer to use the finest setting on my KitchenAid grater here, as my family doesn’t like any flakey bits on their bakes goods.
- Carrot has a surprisingly high moisture content, which can make your bread soggy. Place your grated carrot in a strainer or sieve and squeeze as much moisture out of it as possible. You can do this by pushing the carrots down with a spoon, or by simply squeezing them with your hand.
- In a medium bowl, mix together your flour, baking powder, baking soda, cinnamon and salt. Mix until there are no clumps, then set aside.
- Attach a large bowl to your stand mixer and attach the whisk attachment. Add your eggs, sourdough discard, sugar and vanilla to the bowl and beat until well combined. Stop the mixer momentarily to scrape the edges of the bowl if your mixture is stuck to the edges. Once well combined, add your cooled butter and beat until the mixture is light and fluffy. I like to add my butter last to ensure the eggs have been well incorporated and won’t run the risk of the butter “cooking” large clumps of it if too warm.
- Turn your mixer to a low setting and slowly add the flour mixture. Mix until almost fully incorporated, then add your carrots and walnuts. Keep mixing until well combined and no clumps of carrots or walnuts remain.
- Take your loaf tins and divide the dough evenly between them. Keep in mind that uneven distribution will cause the fuller one to take longer in the oven.
- Place both tins in the oven and bake for 50 minutes. Test each loaf’s centre with a toothpick after 50 minutes to ensure your bread is fully baked. If parts of dough cling to your tooth pick, give the loaf another 10 minutes in the oven before repeating the process.
- Once baked, take your loaf tins out of the oven and place them on a wire rack to cool. Allow your loaves to cool in their tin for at least 10 minutes before turning them over. Turning your loaves over while still hot will likely cause them to crumble and break apart, which can be avoided by allowing for some time to cool.
Notes
- Follow the same guidance to cool before slicing your loaf.
- Once ready and baked, you can store the loaf as a whole or as individual slices for up to 3 days in an airtight container on the kitchen bench.
- The recipe is also great for freezing. I prefer to freeze individual slices and either thaw them in the toaster or under the grill for a quick and delicious breakfast.
- If you plan on taking them to work, simply grab a slice out of the freezer before heading out and allow the outside temperature to do the thawing for you. If your workplace has a toaster, you can always heat it up there.
